What is HDR imaging?
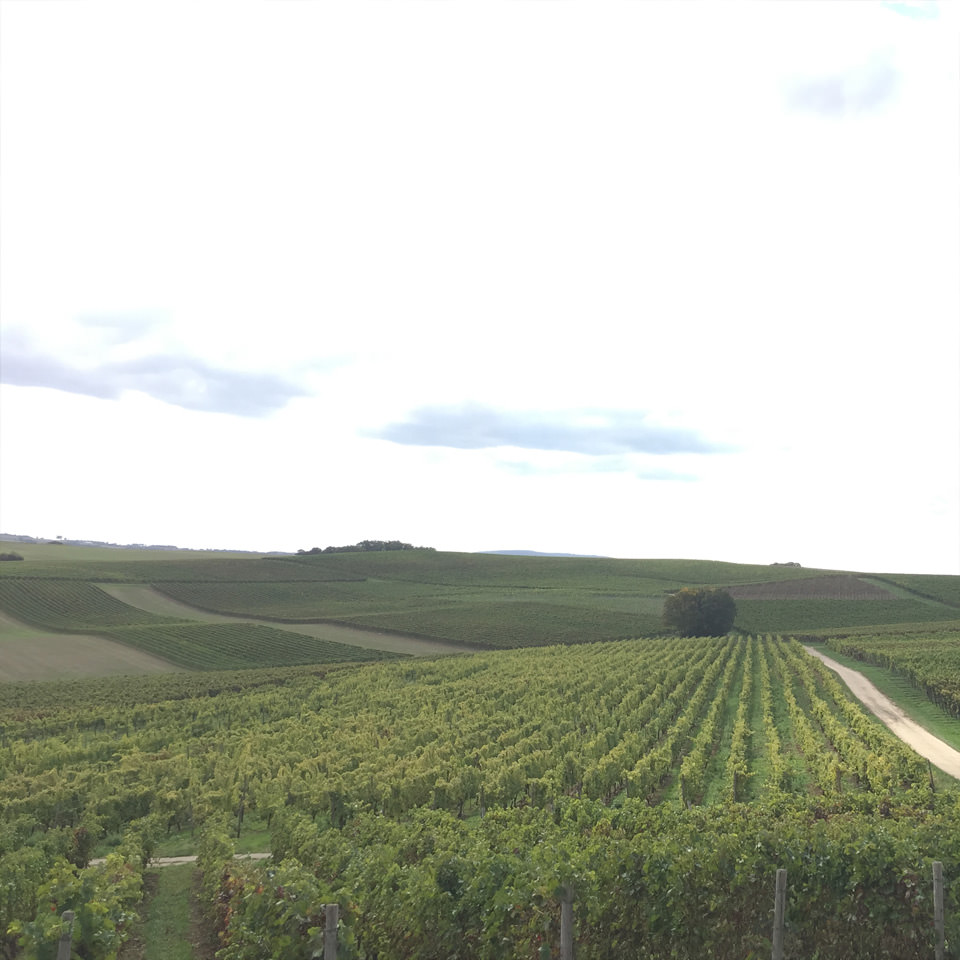
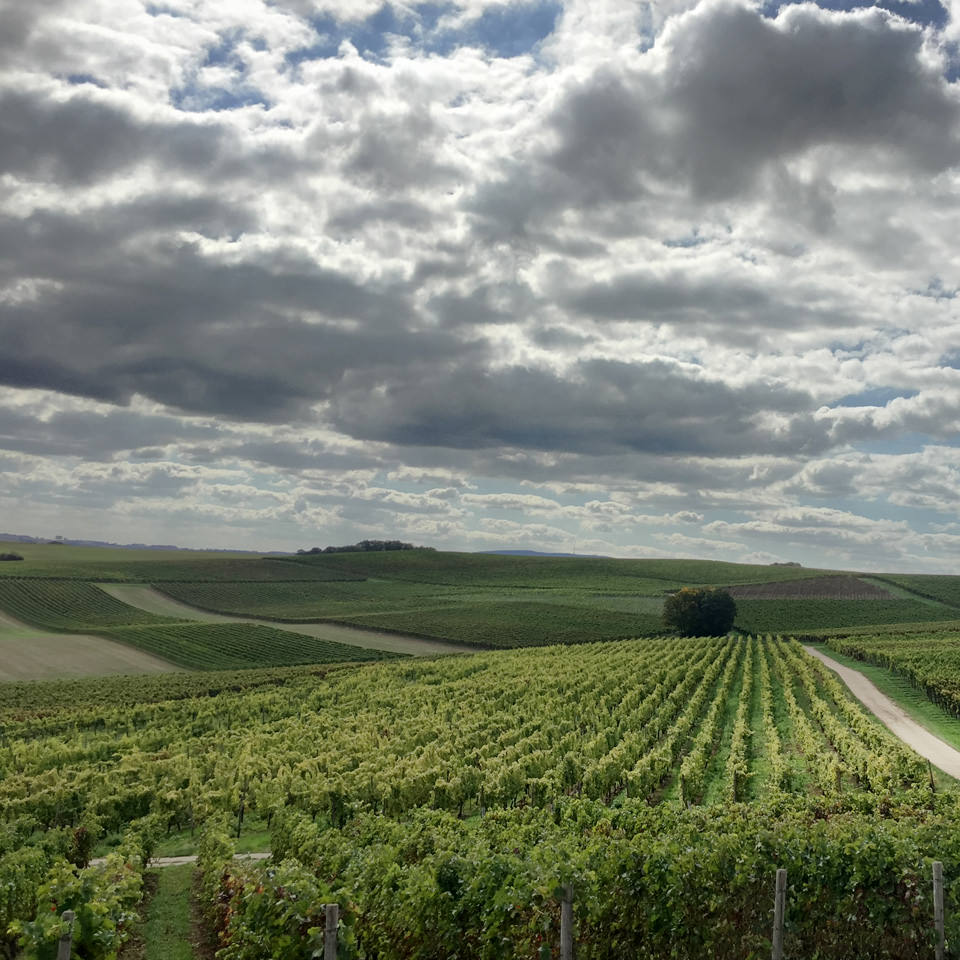
In a nutshell: HDR processing enables you to take photos with a greater dynamic range which translates into capturing more details in highlights and shadows. Click and drag the white slider in the photos below to see how much more detail you are able to capture with HDR imaging.

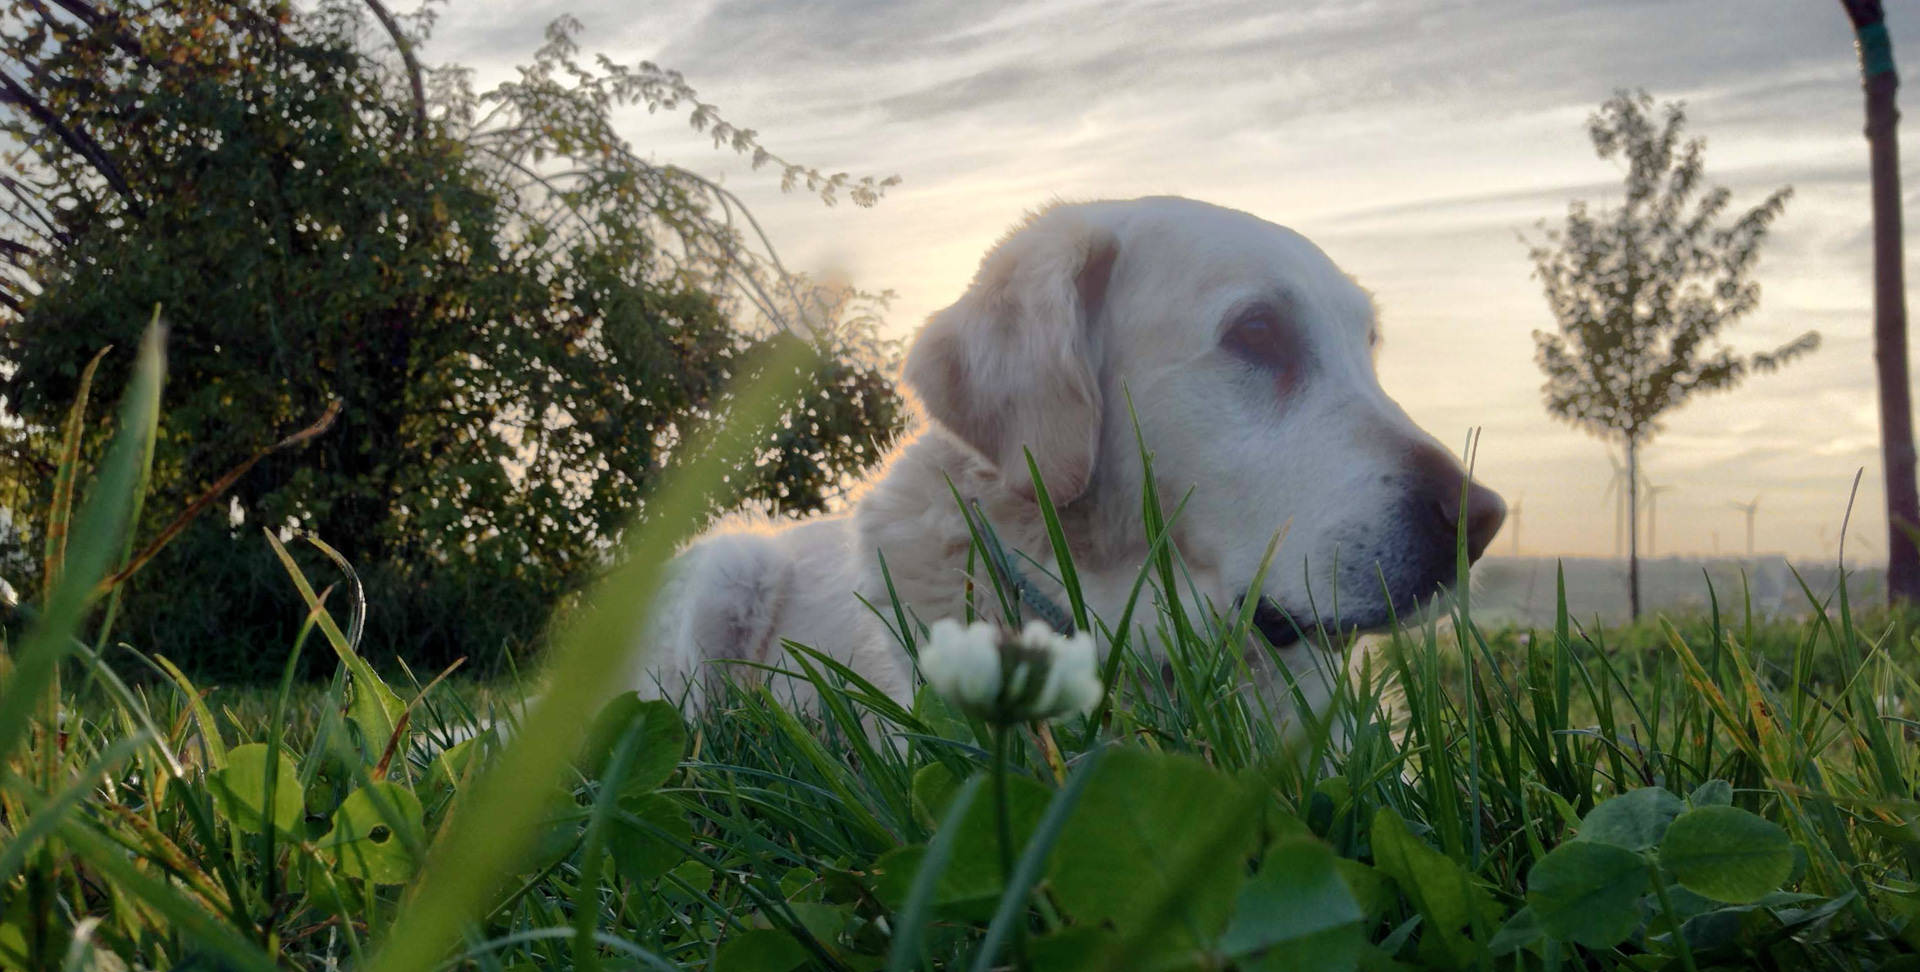
To be precise: Compared to conventional photos, HDR images contain a greater range of light that is present in real-world scenes. Three or five photos are captured at different exposure levels, which are then combined into one with a higher level of color precision aka higher dynamic range. A standard screen has a limited dynamic range that inadequately displays the full range of light intensities found in an HDR image. To address this issue, the contrast range is compressed with a technology called tone-mapping, so the photo can be displayed on a standard non-HDR screen.
What is the new 5-Picture HDR all about?
As mentioned before, the HDR capture process uses multiple photos, shot with different exposure times, and combines them into an image with a higher dynamic range. With our technology partner Ittiam Systems, the company behind vividHDR, we are proud to introduce the first 5-picture HDR for iOS in our latest version (9.3) of ProCamera. Increasing the number of photos from 3 to 5 can boost the amount of detail seen in the photo – especially in extreme lighting situations.
How to switch between 3-picture and 5-picture HDR?
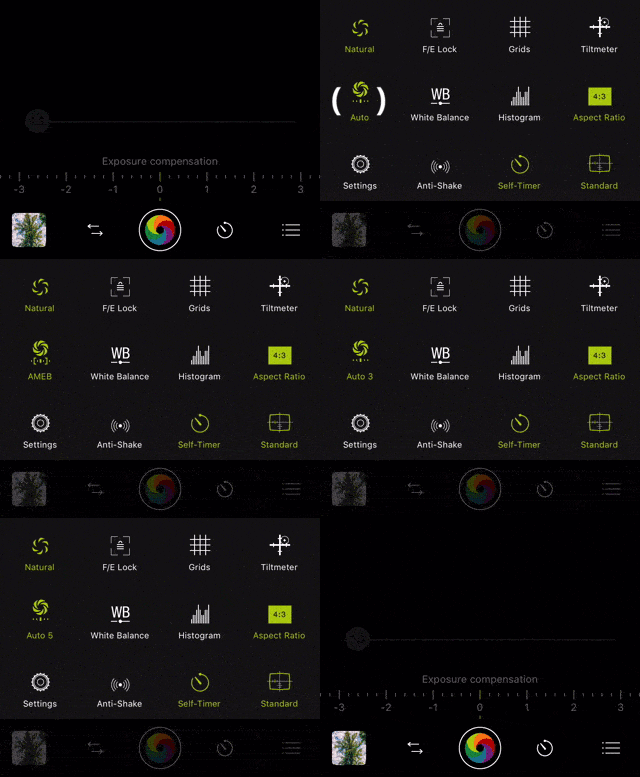
In full Auto mode, the results of the scene analysis determine whether the camera takes 3 or 5 photos. In case you wish to set the amount of photos used manually, that’s possible as well:
Open the control panel in HDR mode (three lines icon bottom right) and toggle the “Auto” icon until you either see “Auto 3” or “Auto 5”. As long as “Auto 5” is active, the camera will take and process 5 photos – “Auto 3” accordingly means capturing a bracket of 3 photos.
Tipp: Long tap the “Auto” icon in order to see all available bracketing modes at a glance.
3-Picture? 5-Picture? Which mode to choose?
Benefits “Auto 3”
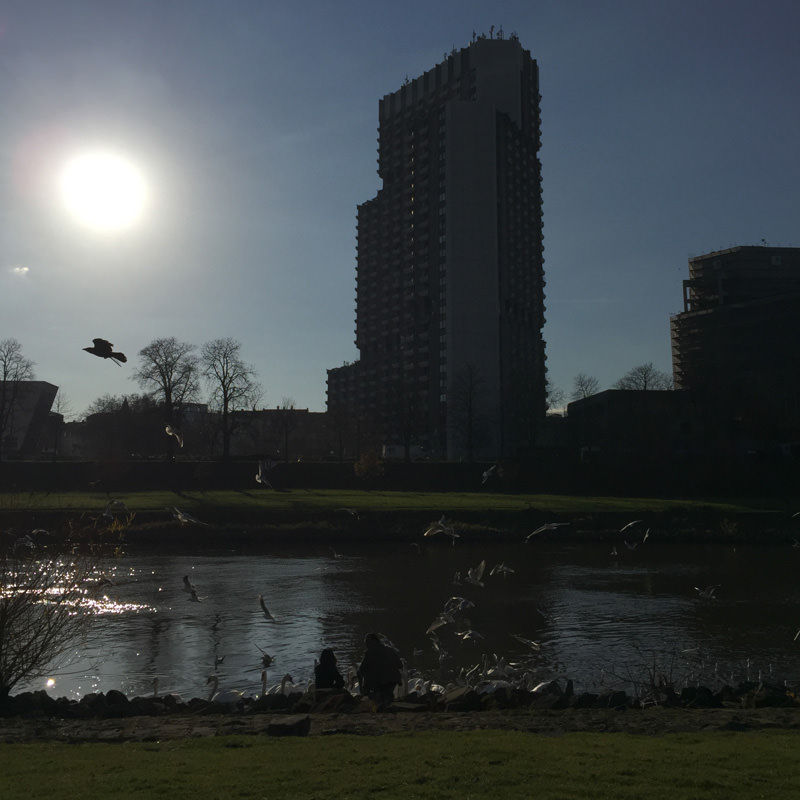
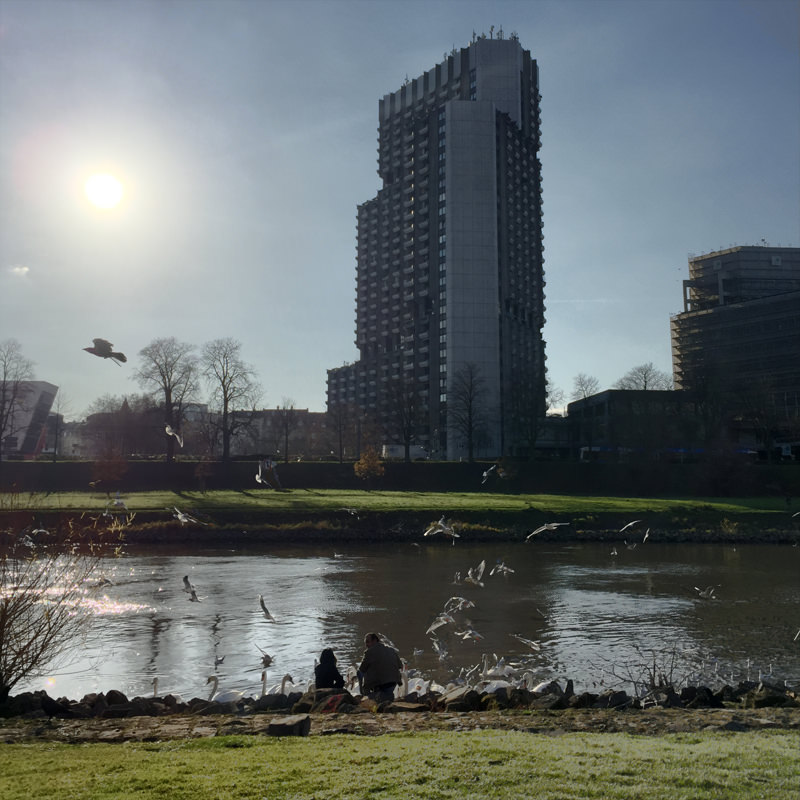
With Auto 3, three pictures are taken in a quick burst and then combined into one HDR image. Since this process is very fast and incorporates a sophisticated image alignment, you can take photos without a tripod and capture scenes with objects in motion without ghosting.
Take a look at the following unretouched photos. On the left side of the image, you can see that the camera was able to capture a bird in mid-flight. Please note that the camera can not align/de-ghost photos of close objects that are moving very fast (e.g. race cars).
Benefits “Auto 5”
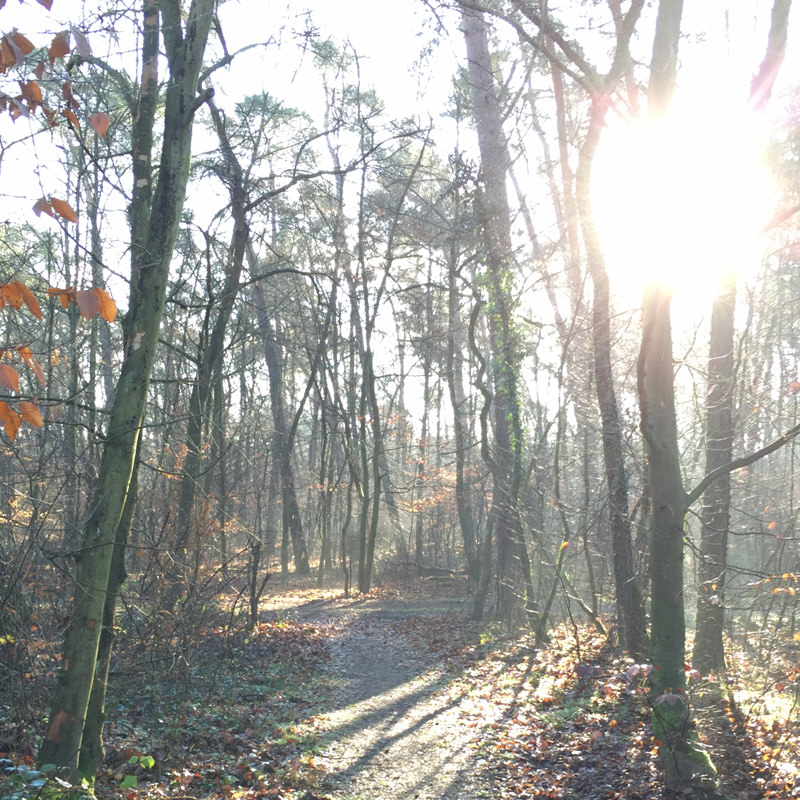
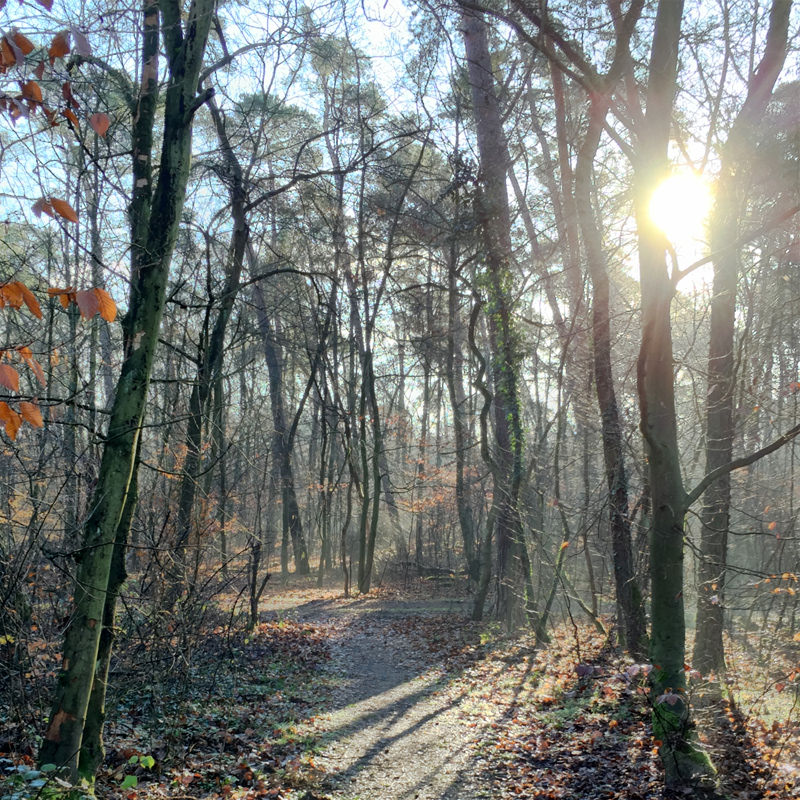
For scenes with very high contrast, 5 photos will yield better results. When taking the photo below I intentionally chose Auto 5, since the scene has an extreme dynamic range (very bright and very dark areas), and because there wasn’t any movement in the scene.
The total exposure time is longer when taking 5 photos, which means fast moving objects might become a bit blurry and deghosting can fail if too much movement occurs from picture to picture. Thanks to the powerful auto-alignment, you can shoot Auto 5 HDR photos hand held – just hold the iPhone as still as possible to get the best results.
Unlocking vividHDR in ProCamera
The 5-picture HDR update comes free of charge as part of v9.3 for all existing users of vividHDR in ProCamera. For those of you who haven’t already bought the In-App Purchase, we are offering a free HDR test mode with permanently watermarked photos. Simply switch to HDR mode and tap “Try” when the info popup appears. When you eventually want to unlock the mode, switch to another mode and then re-open the HDR mode. The pop-up will appear again and there you will be able to make the purchase. Alternatively, you can simply take an HDR photo and then tap “Save”, and you will be presented with a purchase option.
5-picture HDR is available on the iPhone 5 and later models. Our aim was to bring this innovation to as many users as possible. The iPhone 4S can not handle the large amount of data which goes along with processing 5 photos.
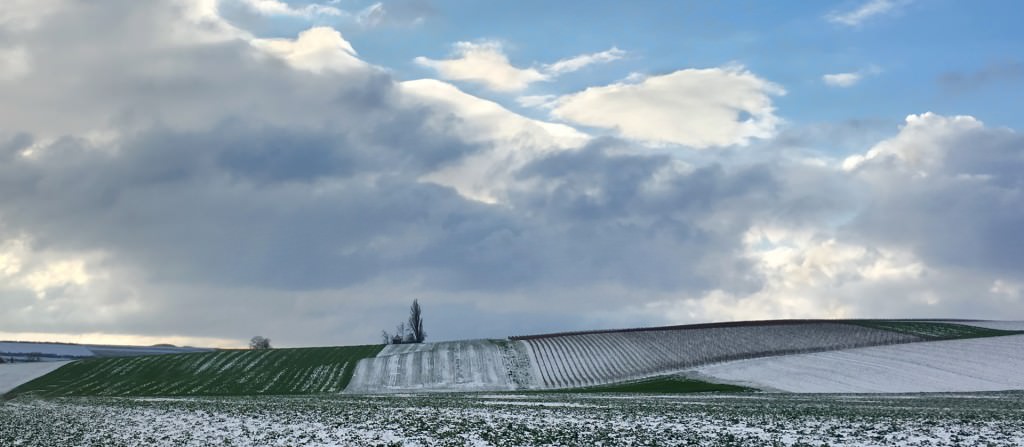
Natural-looking HDR images
The concept of HDR photography has been around for quite some time. HDR has often been used to create dramatic and surrealistic images. Understandably, exaggerated contrast and dramatic HDR effects are not everybody’s cup of tea.
vividHDR in ProCamera enables you to select and preview various presets, so that you can choose a natural-looking image or one with exaggerated contrast and vivid colors. Make sure to give the black and white preset a try, as it is one of our personal favorites!
Special Bonus: vividHDR + LowLight Plus = LowLight HDR
As a special bonus for users that have unlocked both the vividHDR mode and LowLight Plus, we have included an impressive LowLight HDR mode in our last update.
By combining HDR processing and long exposures, you will be able to capture stunning high contrast scenes in low light. LowLight HDR is able to capture fine details in the highlights and shadows – even at night.
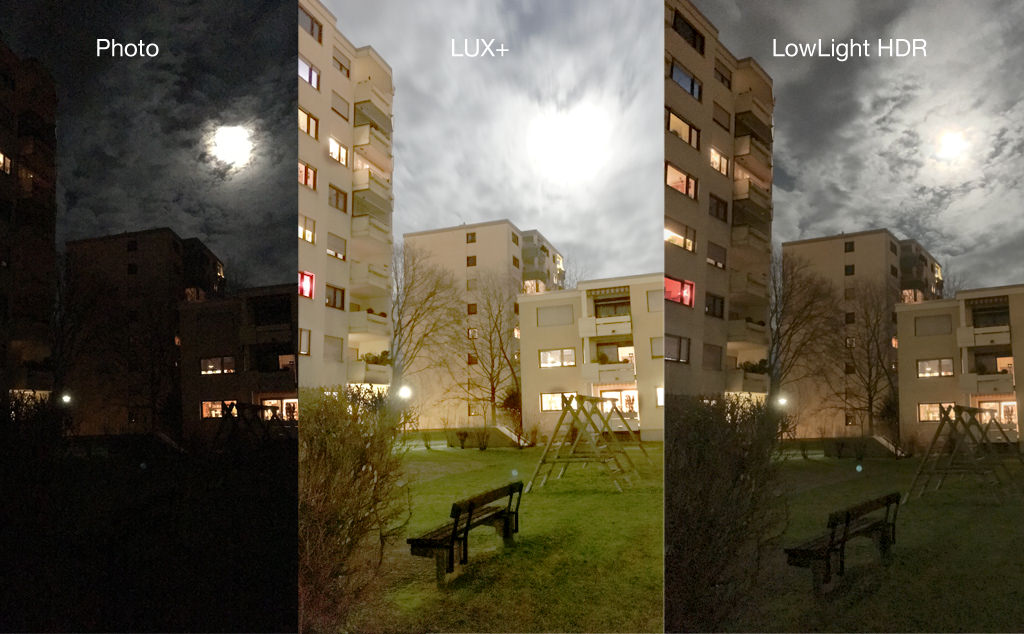
The 3 comparison photos displayed above show the results of standard photo mode, LowLight Plus LUX+ and LowLight HDR in a very dark environment:
– The standard photo is very dark, since it is taken in the middle of the night and the houses are only lit by moonlight.
– The LUX+ photo demonstrates just how powerful the long exposure mode of LowLight Plus is. You are able to take a vivid photo with the help of nothing more than moonlight. Pro tip: Use our widget to see when you can take great photos of the next full moon.
– The LowLight HDR photo captures the scene differently compared to LUX+. Different does not mean better or worse. It is just a matter of personal taste. LowLight HDR images will not be as bright as LUX+ photos, but the processing does a great job at preserving detail even in very bright areas. Take a close look at the illuminated windows and notice how there are no burnt out highlights.
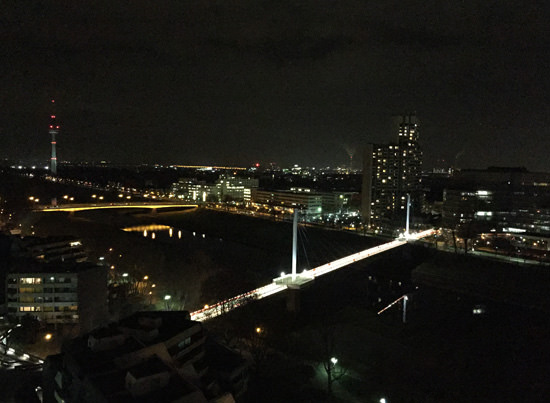

After you have unlocked vividHDR in ProCamera and LowLight Plus, you are ready to take your first LowLight HDR photo: Switch to HDR, open control panel (three lines icon bottom right), tap the “Auto” icon until it says “LowLight HDR”. Make sure to use a tripod if it is very dark.
Give it a go in a lowlight scene that contains highlights (street lights, full moon etc.). You will be amazed with the results!


Great article. Extensive information about HDR camera and its function. The article shows the difference between standard image and HDR image. Great work 🙂
I’m having some problems: 2 days ago I purchased an upgrade to ProCamera that cost me $2.99 CDN, which in Apple’s App Store would be: the Vivid HDR upgrade, yet I am unable in the settings (when in HDR mode) to toggle the Auto settings to Auto3 or Auto5. Instead my options are Auto, MEB, and AMEB.
After I bought ProCamera v9.3 (before buying the upgrade) it appeared that I was able to use the HDR mode- it would take 2 photos and not leave a watermark. I’m confused.
Also I remember seeing a screenshot showing the Low Light Plus icon available, and an explanation that while you could take a photo in Low Light mode it would have a watermark. The Low Light Plus icon does not appear on my screen at all.
Bottom line: I would like to get the HDR and LowLight Plus upgrades enabled. Your help in this matter would be appreciated.
Thanks in advance.
Pat
Hello Pat,
Thank you for your feedback. We are sorry about the inconvenience.
From what describe, we conclude that you are using an iPhone SE.
Please install our latest update ProCamera v9.4 – which was just released.
It fully supports the iPhone SE.
In version 9.4, you will find LowLight Plus mode in your camera modes menu as expected.
In HDR mode, on opening the control panel, you will be able to additionally select Auto 3, Auto 5, and – as a free gift to all users who have purchased vividHDR and LowLight Plus – LowLight HDR.
More detail in our latest ProCamera blog post in https://www.procamera-app.com/en/blog/procamera-v9-4-lowlightplus/ .
Best wishes for enjoyment and good results in using ProCamera.
Your ProCamera Team
I have strong affection about HDR camera as i am very interested about this i want to get it soon your blog has given me better knowledge about HDR Camera. Your article is really so informative. Excellent work.
I want to know whether the 5 images are stored separately from the processed HDR image. Basically I just want the app to do backeting so that I can process the images myself offline using other software.
Thanks for your interest in our HDR camera mode. Currently, the 3 or 5 differing exposures are directly and swiftly combined into a HDR photo. Along the HDR photo you can save a reference photo (which we call “LDR”, as it is a standard exposure).
What you could do, is mount your iPhone onto a tripod, lock focus, and use the EV slider to take photos with identical framing but different exposure level. However, our approach is to create great HDR photos on your iPhone, without having to use additional software or devices.
Procamera is my favorite camera app but it currently leaves me looking for other options. This is good money you are leaving on the table… not giving us the option to save bracketed exposures as individual photos. Why not give us this as an add-on option and let us decide whether we want to merge on iPhone or pay extra for ability to save for desktop processing where we have more control? Let us have a mode that is AEB with choice of 3-5 exposures that are manually or auto set. I would gladly pay for this as an add-on. I already bought all of the other add-ons and love them. Without true standalone automated bracketing, Procamera has a glaring hole in it’s feature set, offer this and your app will have achieved perfection.
Thanks for the compliment and the detailed feedback. Your wish is noted and forwarded to the development team.
Just purchase Pro Camera along with Vivid HDR. Once you take an HDR photo and choose one of the many options, that’s it. You can’t go back to the original HDR. (I think that’s how it works). Would it be possible to allow you to save the original HDR and let you save various choices without overwriting the original HDR.
Thanks
Bob
Hello Bob,
that is in fact possible! Just make sure that auto-save is disabled for the HDR mode, so that you see the various HDR presets previewed after the capture (Settings > HDR Settings > Auto Save: Off).
Once you see the HDR presets preview (natural, vivid, black and white,…), just swipe left and right tick off the once you like. You can even select and save all presets and the LDR reference photo in case you like all of them. Have fun with our HDR mode.
I just purchased the HDR app but where is it? I see no additional settings like natural or the choice of 3 or 5 mode.
Hi George,
the HDR mode in ProCamera is a separate camera mode. After unlocking HDR in ProCamera, simply switch from your current camera mode (e.g. Photo) to HDR by tapping the two arrow icon next to the main shutter button. You will see a list of available camera modes (Photo, HDR, Video, Selfie…). Once you selected HDR, you will see that the control panel in this mode has some HDR-spcific options – like selecting a 3 oder 5 picture HDR.
On the latest devices, you will even see an HDR button in standard Photo mode when manual mode (“M”) is active. This allows you to capture SmartHDR photos, a capture process provided by iOS that is different from the dedicated HDR mode with 3 or 5 pictures.
Enjoy ProCamera!
Instead of processing the 3 or 5 HDR shots in app, can I download them to my computer? I have not seen information regarding this.
Thank you
Thank you for your interest. In vividHDR mode this feature is not provided (you will quickly get a final HDR image without all the different exposures used to create it) – but our dedicated Exposure Bracketing mode is exactly what you are looking for. The EB feature allows you to capture multiple exposures with just a single tap of the shutter button. The bracketed images can then be imported into your HDR software of choice in order to create a high dynamic range image based on your own vision.
Instead of processing the 3 or 5 HDR shots in app, can I download them to my computer? I have not seen information regarding this.
Thank you
In our classic HDR mode, all the exposures are automatically merged right after capture to make it a really fast and streamlined experience.
BUT we have introduced a dedicated EB (Exposure Bracketing) feature which can do exactly what you asked. EB is part of the ProCamera Up membership. You can find more information on this function via Settings > Shop > Exposure Bracketing.
With our custom EB feature you can capture bracketed photo series comprising 3, 5, or 7 shots (even in RAW format).
What an excellent feature!
It was released back in 2016. Unfortunately, I only discovered it and used it in 2024.
Although it’s a bit late, I still feel lucky. With vividHDR + Low LightPlus (LowLight HDR), you can take a lot of interesting photos!
Thanks a lot for Dev team.