I’m currently living in Derby, in the UK midlands. Unlike the Australian summer there is not much sunshine to take my regular colour photos. As a result I’ve started using the overcast weather to rediscover my passion for moody black and white imagery.
This quick tutorial will show you how you can both shoot and edit a photograph on ProCamera with black in white in mind.
First up, here is the photo that I will process for today’s step by step. It was taken earlier this afternoon as I was strolling into town.
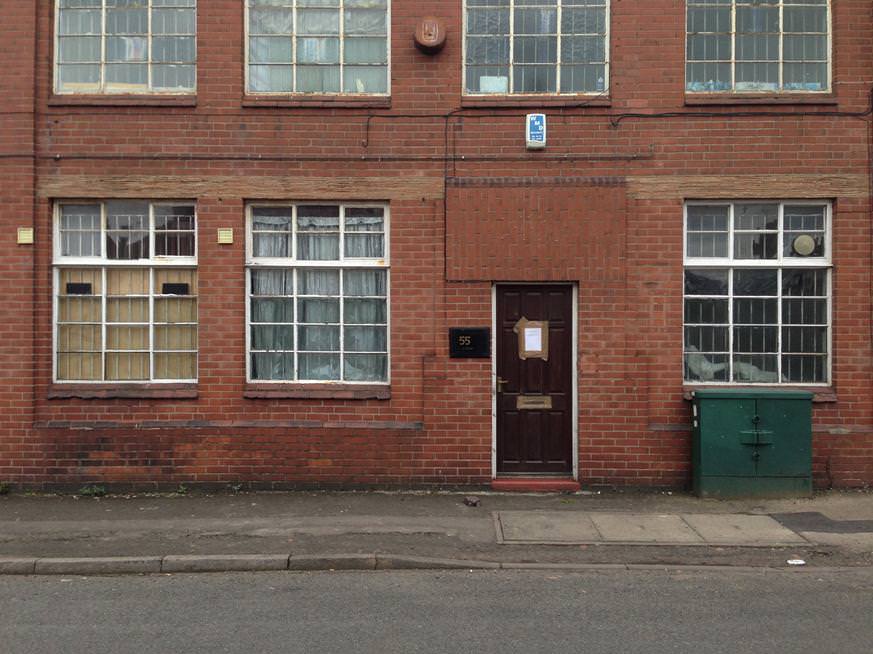
When shooting I try to imagine what an image will look like once processed for black and white. For this one I was interested in the texture and repetitive shapes in the quintessentially British building.
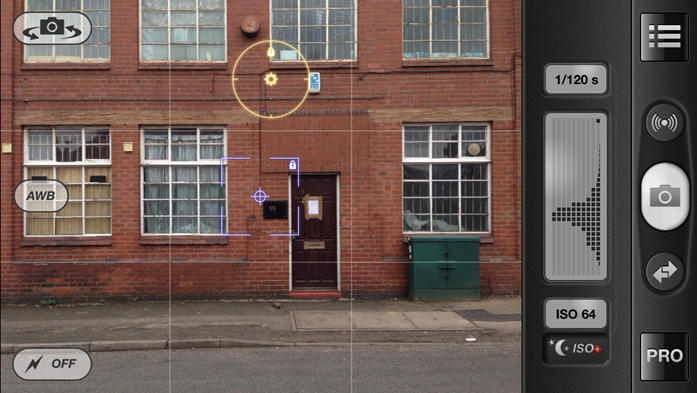
Here you can see the shooting settings used for the photos. I placed the exposure (yellow circle) on the middle of the building for a pretty standard, balanced exposure. I placed the blue focus square on the door of the wall directly in front of me. The overcast day makes the photo look flat and relatively uninteresting.
Now for the transformation…
|
 |
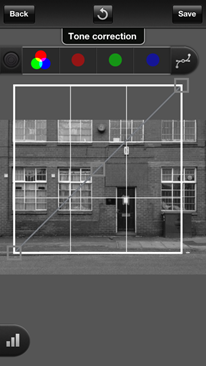 |
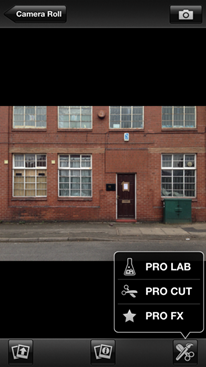
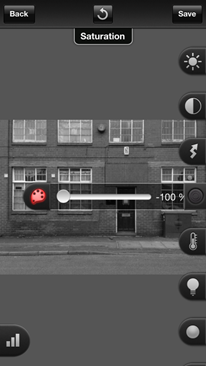
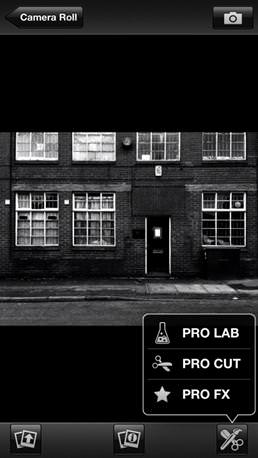
| First, go into the ProCamera Albums and Studios (right to left QuickFlick or under the PRO button) and open the photo in Pro Lab to transform it into a gritty black and white. | Open the saturation slider and drop it down to 0, making the photo grayscale. | Next launch the curves tool (top left).
|
 |
 |
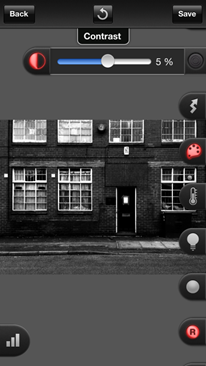 |
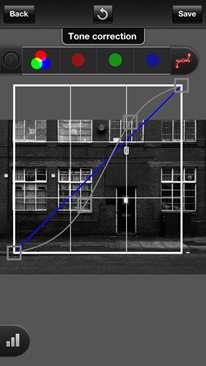
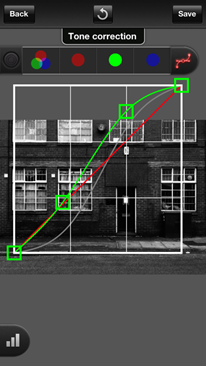
| Drag the first point (bottom left) downwards to darken the shadows on the photo. The second exposure point (top right) is dragging upward to boost contrast in the highlights (bright areas). This makes an appropriately termed s-curve. | Now let’s switch to the green colour channel. As the image is now grayscale individual colour channels can help make localised adjustment to the image. On this green curve you can see that I’ve further boosted the highlights and midtones – adding detail to the bricks and windows. | Next I’ve added a touch more contrast to the photo to add more punch to the texture I the windows. |
Finally, I’m not sure about the cropped windows on the top of the frame – I feel that they make the photo look incomplete. Maybe a crop will help…
 |
 |
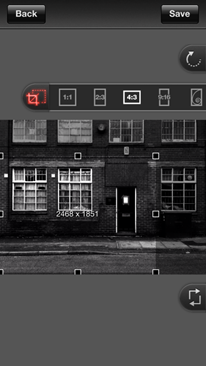 |
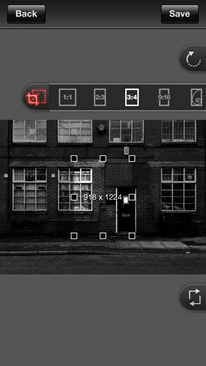
| First open ProCut | Then open the crop dimension constraint tool and click on 4:3 pressing it a second time moves it from vertical to horizontal. | I’m cropping into the bottom left corner of the photo to draw attention to the window detail and door. |
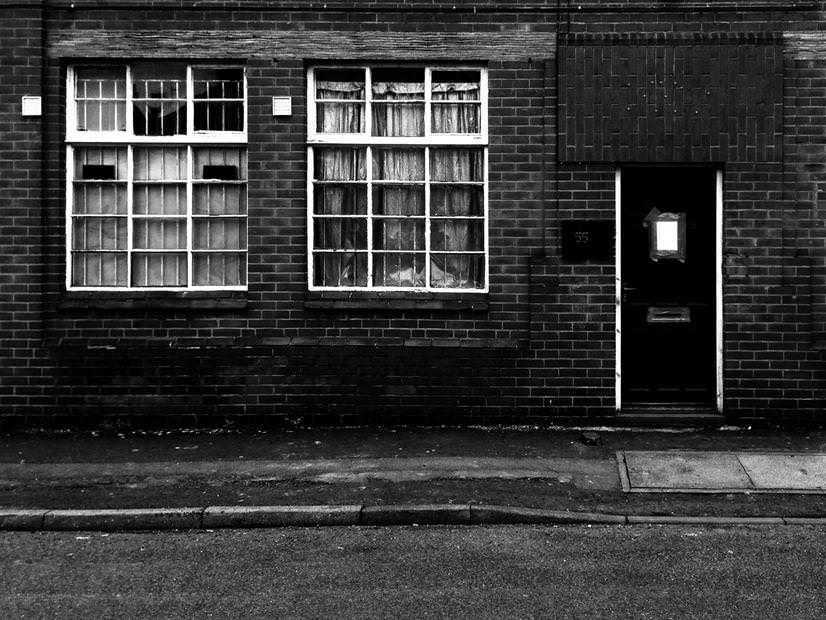
Here’s the final black and white photo, what do you think?
ProCamera is available from the Apple AppStore for $3.99. Click below to download.


