Exposure bracketing is a proven technique that ensures proper exposure even in difficult lighting situations
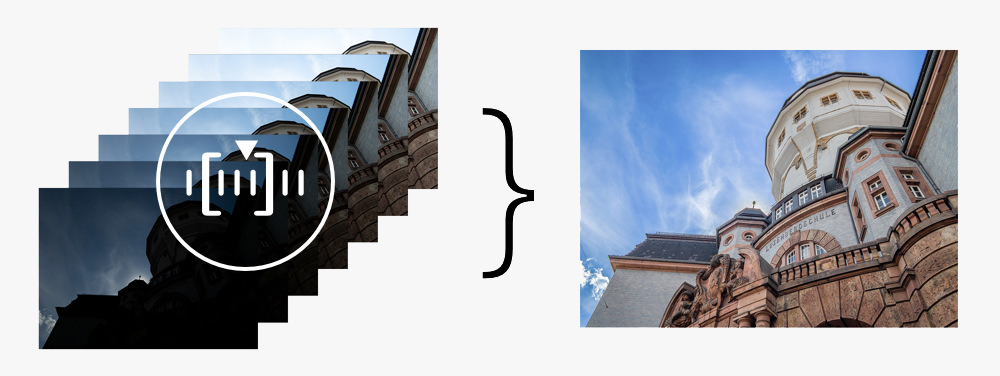
Instead of a single photo, an exposure bracket comprises a series of photos – all captured at different exposure levels

In addition to the “normal” exposure, you will get (one or more) underexposed as well as overexposed photos to also capture detail in the very bright and really dark areas of the scene. When merging these photos later using specialist software, you can create an optimized final photo that is more detailed and more true to the human vision.
What’s the benefit of exposure brackets?

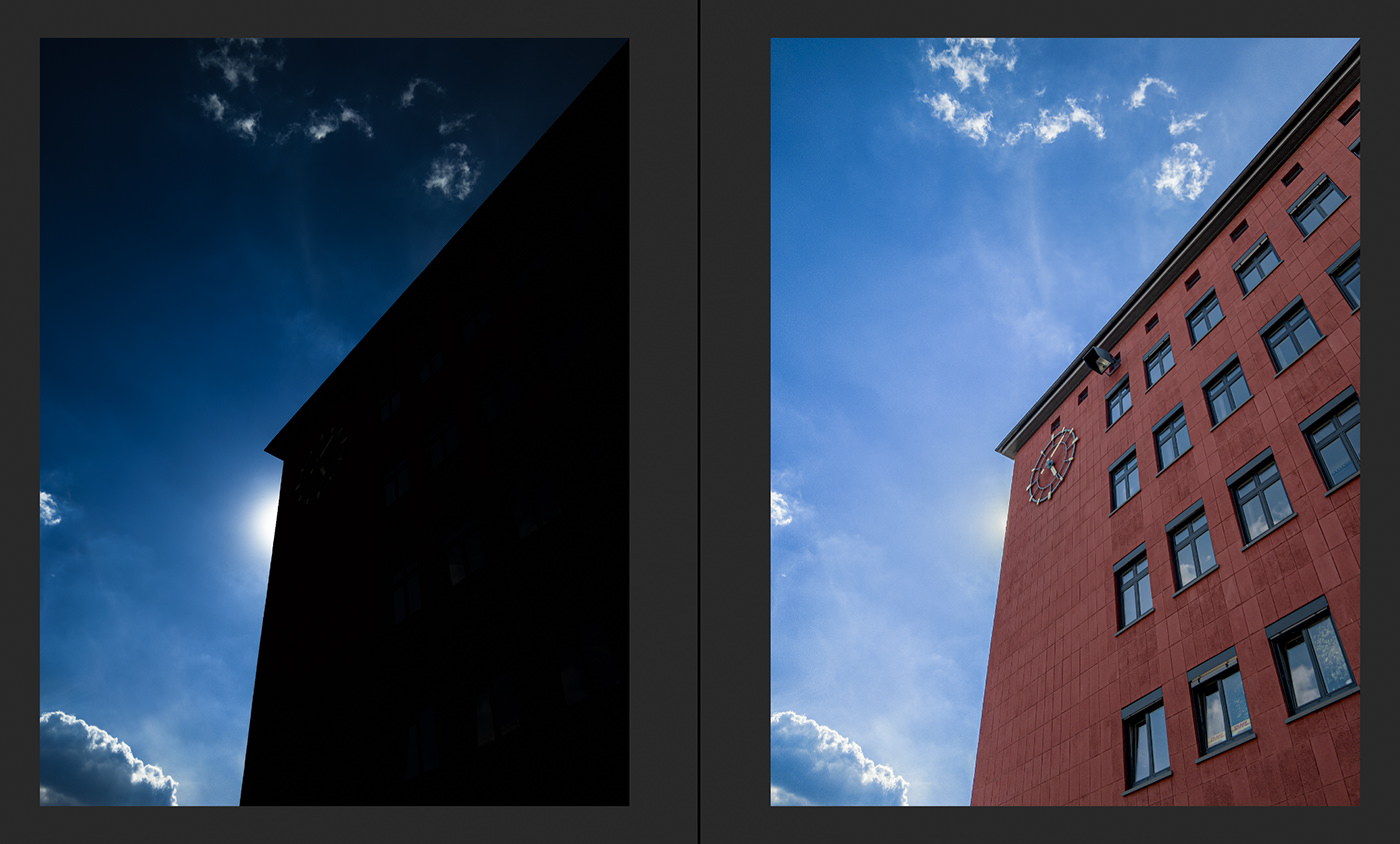
The general purpose of exposure brackets is to avoid having large areas in your photos without information – like blown out bright white skies or shadows without visible detail.
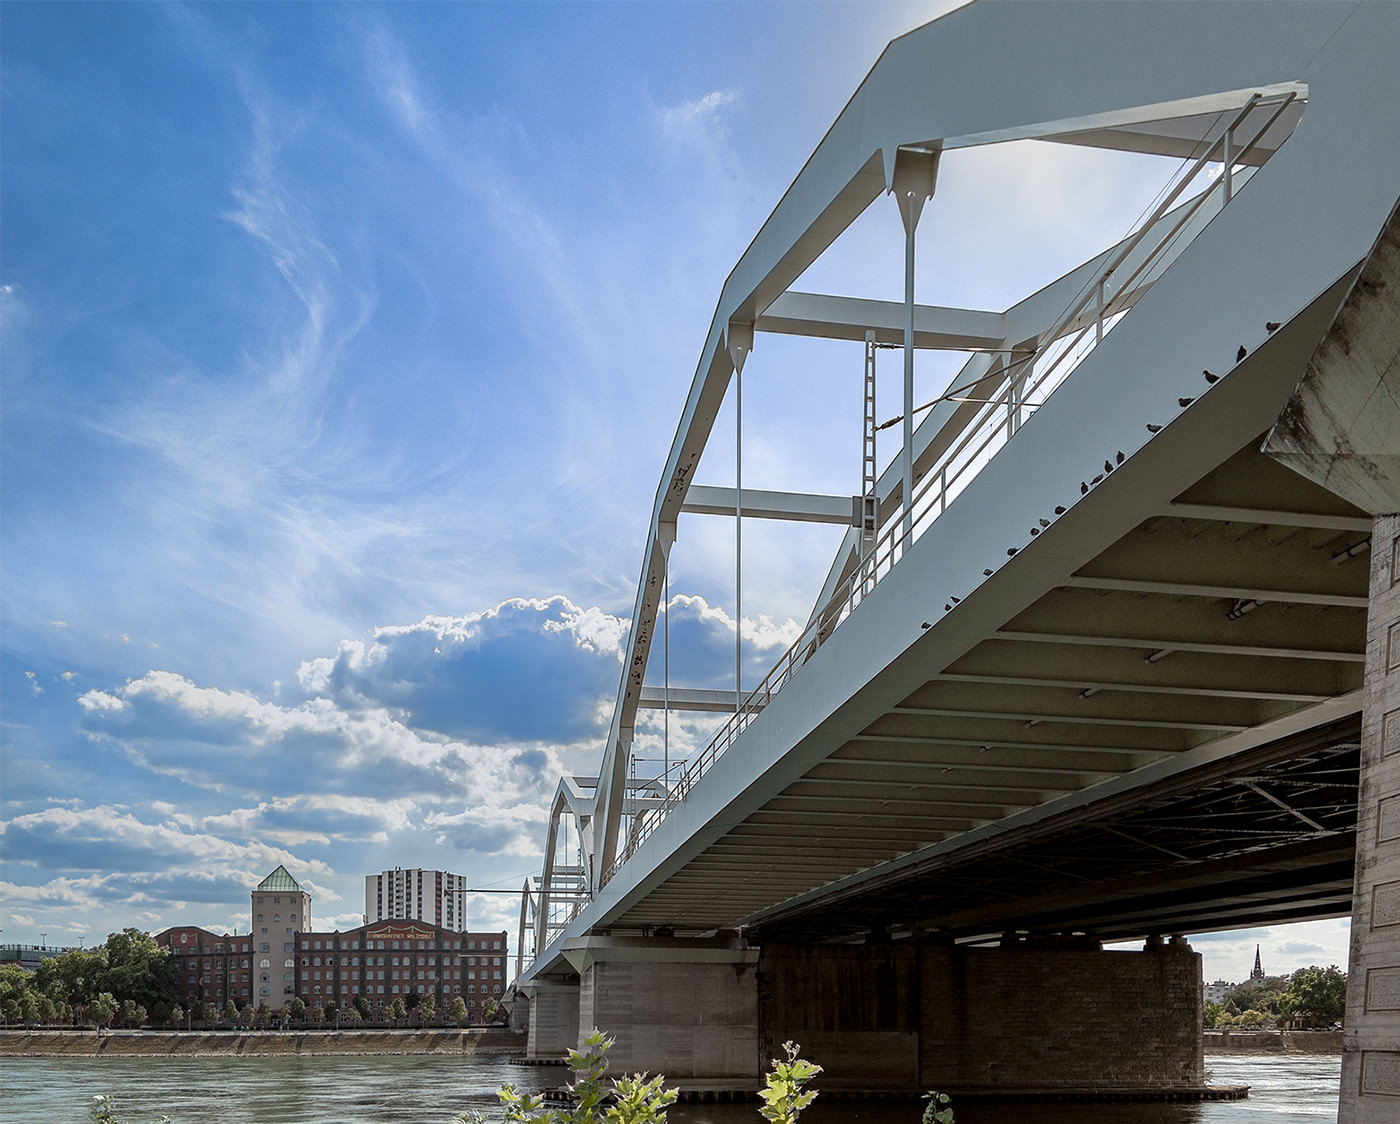
In post-processing, you can merge the bracketed photos to create an image with (more) detail in the highlights and shadows. Depending on your workflow and your editing software, you may either create an HDR image or a compositing (stitching/blending together the best pieces).

Since the bracketed photos need to align to create a seamless final photo, the technique is not well suited for moving subjects (street traffic, sports, etc.). Also, you’ll want to hold the iPhone as steady as possible during the capture process or use a tripod.
Side Note: In case you prefer a quicker and easier process to get a proper high dynamic range (HDR) image, try our HDR camera mode. It also takes multiple photos but merges these images right on the device in no time.
How does Exposure Bracketing (EB) work in ProCamera?
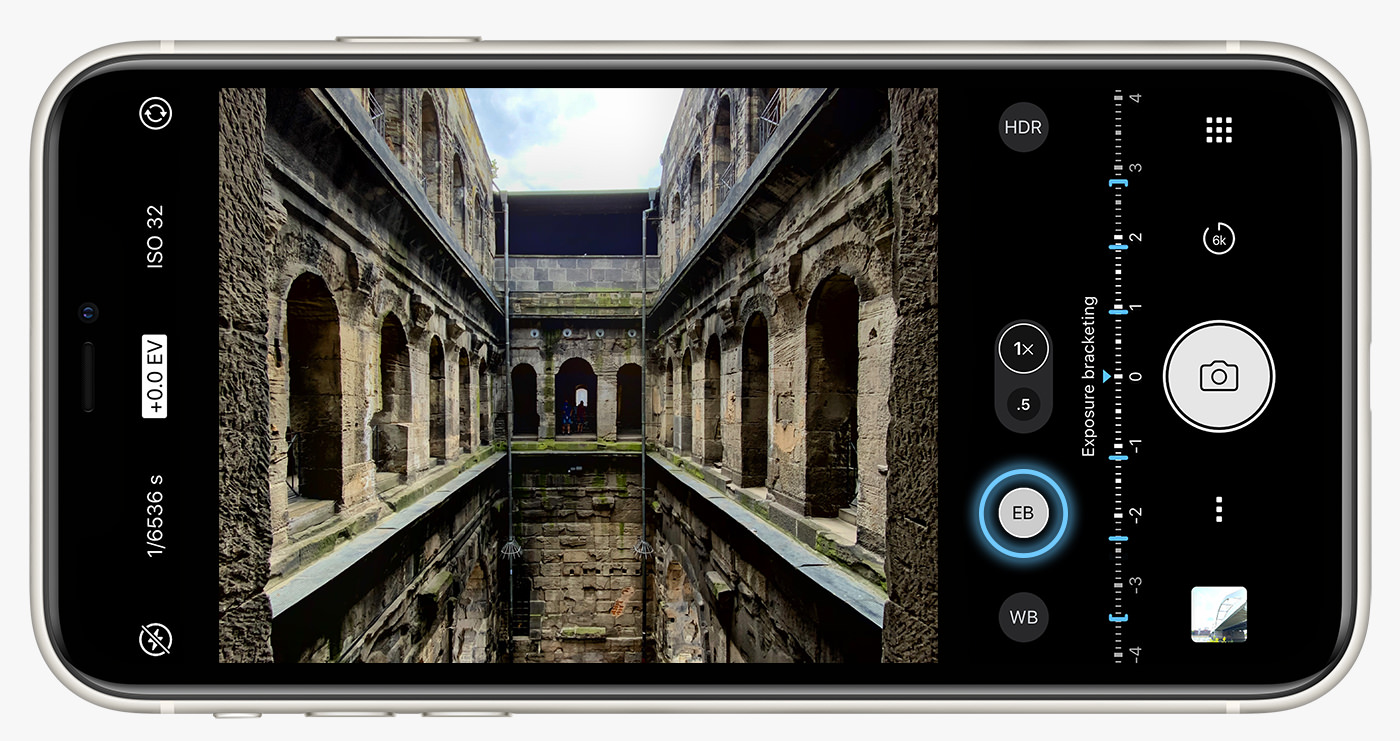
To capture a manual exposure bracket, go to Photo mode and make sure that M/SI (manual or semi-automatic mode) is activated in the Control Panel. When you have a running ProCamera Up subscription, you will see an Exposure Bracketing button (EB) in the viewfinder.
When tapping the EB button, a special EV dial is displayed with blue markings indicating the different exposures. By moving the outer blue bracket markers on the Exposure Bracketing dial, you can set the maximum over-/under-exposure for the series – optionally up to 7 f-stops apart! You may even dial in an EV value other than 0 for the medium exposure.
Which advanced settings are available for the EB feature?
For advanced users, we have incorporated additional features and settings:
FILE TYPE: Our exposure bracket capture supports all available photo file types. This means you are not limited to JPEG series, but you may also take HEIF, TIFF, RAW and even RAW+JPEG brackets!
LENS: You can shoot brackets with all available lenses of your device – from ultra-wide to tele. As usual, the front-facing camera and the ultra-wide lens don’t support the RAW file format (iOS limitation).
NUMBER OF PHOTOS: Via Settings > Exposure Bracketing you can choose to take brackets consisting of 3, 5, or even 7 photos. When brackets of more than three exposures are captured, you will hear two shutter sounds.
ASYMMETRIC BRACKETS: When activating Settings > Exposure Bracketing > AMEB (Advanced Manual Exposure Bracketing) you can set the amount of over- and underexposure independently. This allows you to capture “lopsided” brackets like -2, 0, +1.
Should I always shoot 7-photo exposure brackets?
The new and advanced option to take brackets consisting of 5 or 7 exposures ist great for scenes with extreme differences in brightness. Yet there are still good reasons to pick the standard 3-photo bracket on some occasions:
CAMERA MOVEMENT: For series of 3 photos, the capture process is shorter, which means it’s easier to avoid camera shake. This is especially true when shooting without a tripod.
MOTION IN THE SCENE: Because all bracketed photos need to align, any kind of motion in the scene (birds, cars, swaying leaves, etc.) poses a problem. With the shorter capture process of the series of 3, you increase your odds of avoiding motion.
Post-Processing Example: Photoshop (Adobe Camera RAW)

There are various specialist programs available to process the bracketed photos in order to create an optimized final image. To conclude this post, we will show one exemplary post-processing workflow using Adobe Photoshop:
- Open Photoshop and select File > Automate > Merge To HDR Pro
- Browse, select, and open all the photos of one exposure bracket
- Check “Attempt To Automatically Align Source Images” in case you didn’t use a tripod
- Choose the bit depth for the final image (32 Bit can store the entire dynamic range in the merged photo)
- Select 32 Bit and check “Complete Toning in Adobe Camera RAW”, then tap “Tone in ACR”
- Make exposure adjustments in Camera RAW. You will notice that you are able to drastically darken/brighten the image without losing details.


