Nobody wants to come back home from a trip and find shaky photos on his device. We all had that and know how annoying that is… Image Stabilization techniques can nowadays help a great deal in avoiding these useless shots.
What causes blurry photos?
Besides a misplaced focus, the main reason for blurry photos is motion. Motion can occur through camera shake and/or subject motion.

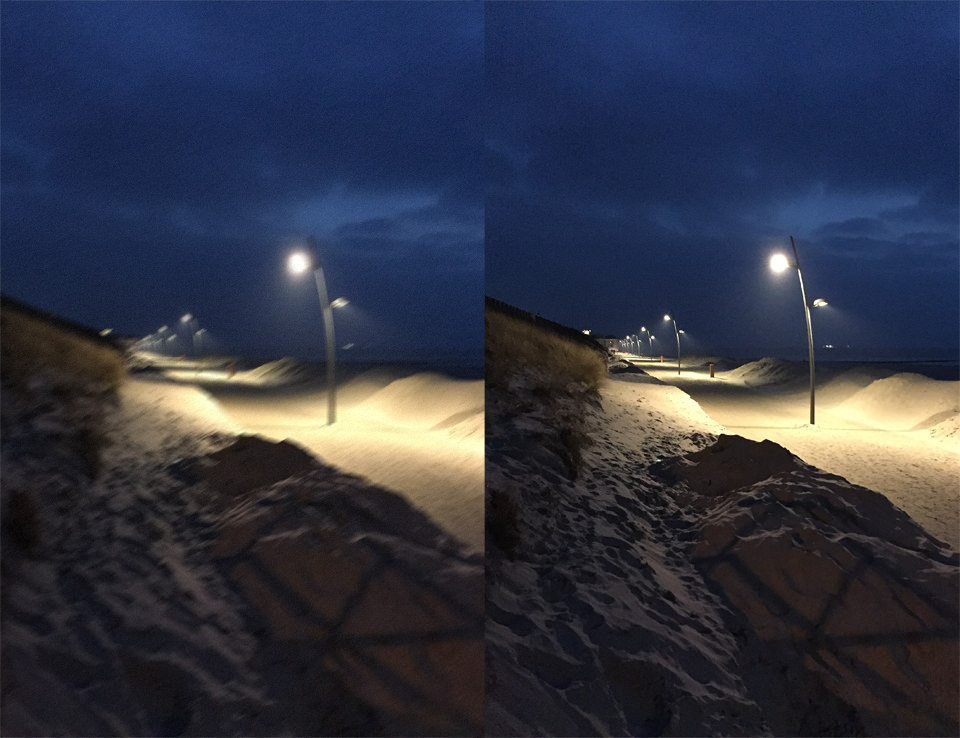
Modern technology and a little bit of photographic comprehension go a long way in avoiding blurry shots. The photos above were taken long after sunset with an iPhone 6 at ISO 1600.
How to avoid blurry photos?
To get clean and sharp results, we need to reduce both: camera shake + subject motion. With the iPhone 5s Apple introduced an automatic image stabilization (AIS). What that means is a background process that combines the best parts of 4 short exposures into one photo. The resulting photo makes up for camera shake and motion blur, due to the assembling of the best photo parts plus the short exposure times. Another benefit of this process is the noise reduction applied while combining the shots. This discreet process makes some difficult shots feasible in the first place and makes today’s iPhone photography even more mobile.

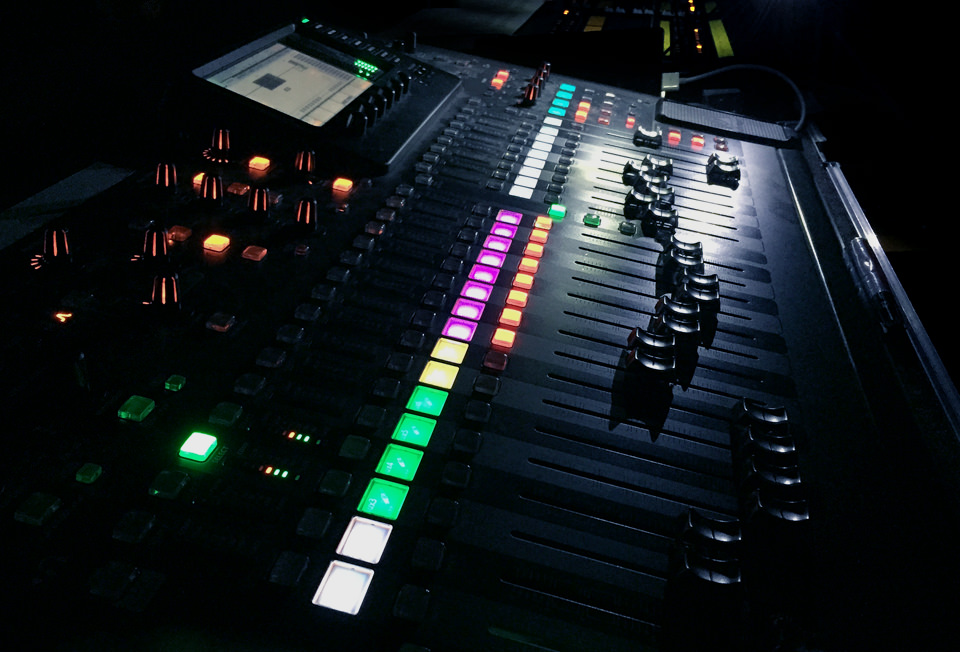
This photo was taken handheld(!) with an iPhone 6 at 1/15s and disabled flash (Photo: Nicolai Bönig).
How to get sharper photographs with ProCamera?
Given the manual control of ProCamera 8, you can change settings based on the particular situation.
To avoid out of focus shots, you sometimes need to control the focus manually. A prime example for such a situation is shooting through unclean windows or a window with raindrops rolling down on it.
If you want to reduce camera shake caused by very long exposure times when shooting handheld, you can raise the ISO figure and dial in a shorter exposure time with ProCamera. That way you are able to minimize camera shake and subject motion at the cost of introducing a bit more noise in the photo.
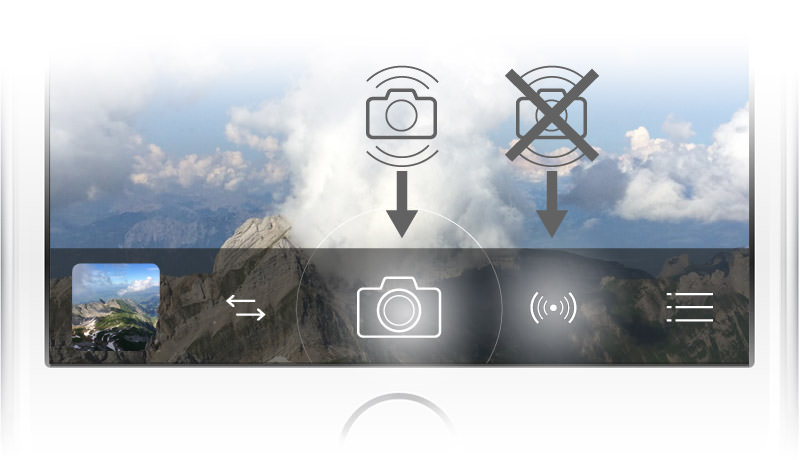
Another effective feature for stabilizing your shots is ProCamera’s Anti-Shake. This second shutter button delays taking the image until the built in gyroscope detects that the device is held steady. That way you can effectively avoid blur caused by shaky hands.
When taking photos via main trigger, the automatic image stabilization (AIS) is active by default on iPhone 5s and newer. The second trigger (right next to it) utilizes Anti-Shake.
Pro Tip: Under Settings > Stabilization you can determine how sensitively the gyroscope reacts. Moving the slider to the left will increase motion sensitivity, which means you can’t take photos right away, but will get the best results.
Expert Approach: How to get the most detailed photos in a still environment?
Based on user-feedback, the update to ProCamera 8 v6.1.1 includes an expert settings option to disable the automatic image stabilization (AIS). When using ProCamera’s Anti-Shake the automatic image stabilization is generally disabled. Users like Florian Bilges sent in photos showing that in a still environment photos taken without AIS have finer details (click on the image for magnification).
Florian took both photos in the same setup (lighting, distance) with an iPhone 5s and a tripod. The photo on the right is taken without the auto image stabilization (AIS) and shows finer details when viewed at 100%.
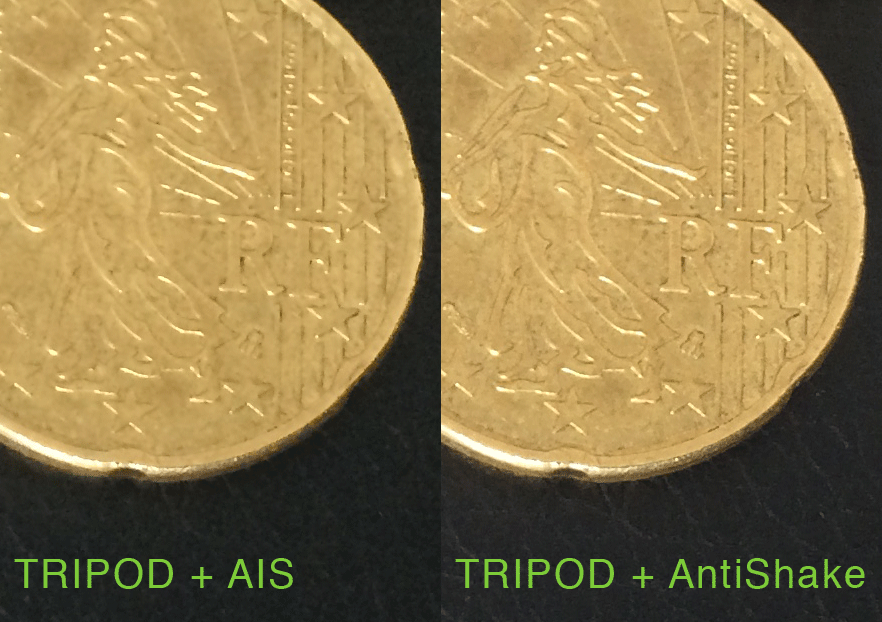
In a test with an iPhone 6 mounted onto a tripod, we also noticed a difference between photos taken with the automatic image stabilization (AIS) enabled/disabled. However, differences in fine details seem to be a little less pronounced.
Using the iPhone 6 in combination with a tripod. Anti-Shake produced finer details than the automatic image stabilization (AIS).
Conclusion?
The automatic image stabilization helps a lot in your everyday shooting and doesn’t bother with settings or processing time, as it is a swift background process you don’t even notice. With the focus on files with a maximum amount of detail, in a situation where you can/want to use a tripod and don’t have a lot of subject motion, disabling AIS (resp. using the AntiShake button) is a good option. For example when taking a landscape photo that you plan to print at a large size and you have the time/place for setting up a tripod. Sometimes you can even find good tripod substitutes, like a wall to lean on or an object you can use as a stand for your device.
Selecting the proper stabilization should not be a general choice, but be decided based on situational factors. ProCamera’s standard configuration makes it exceptionally simple to choose the right stabilization procedure: The main trigger uses AIS for fast and easy handheld shooting, and the second trigger utilizes ProCamera’s Anti-Shake.
Be creative and don’t be afraid of photographing at low light!
UPDATE: November 2015
The new generation iPhones running iOS 9 brought changes to the subject of digital image stabilization. Since it is a topic you hardly read anything about on the web or in magazines, we wanted to give you a summary of our latest experiences and insights.
Bottom line: The software based Automatic Image Stabilization (AIS) provided by iOS has been further enhanced on the latest devices.
Especially when shooting with longer shutter times, AIS compensates for slight movements, which is a helpful tool for handheld photos. Besides slightly reducing the noise in low light photos (which of course is a good thing), it can at the same time unfortunately affect the rendering of very fine details in a negative way. If you zoom all the way in to 100% on one of your photos, you might detect a certain fuzziness, which some describe as “painterly” or a “watercolor effect”. That’s why we incorporated the option to deactivate AIS in the first place. However, we can’t give a general recommendation on wether to permanently activate or deactive it. It all comes down to the situation you’re shooting in: Very bright vs. low light, tripod vs. handheld, finest details vs. casual snapshot…
Another thing to consider is the possibility that AIS may overwrite your manual settings when using an iPhone 6 Plus or an iPhone 6s Plus.
If you are mainly interested in getting a shake-free, decently exposed image, even when shooting in low light, go with AIS activated.
If using exactly the manual settings you just dialed in (ISO value + shutter speed) is your top priority, deactivate AIS in the settings.
It’s important to us that you know you have both options available in ProCamera and can choose accordingly.


That’s why a Speed Priority mode and an ISO Priority mode should exist on Procamera 8 ! 😉
Any recommendations for someone with an iPhone 5 that doesn´t have AIS. Should “AntiShake” always be used?
What about iphone 6+ with OIS? Do you recomend to shoot without the AIS enabled?
There is also a significant difference in your test with the iPhone 6. Apple should work on AIS again. I am also interested to know if there is a difference with iPhone 6 plus.
Thanks a lot for this article. This is really helpful post for me. I am really looking forward for this stuff. The quality of these pictures is really awesome.