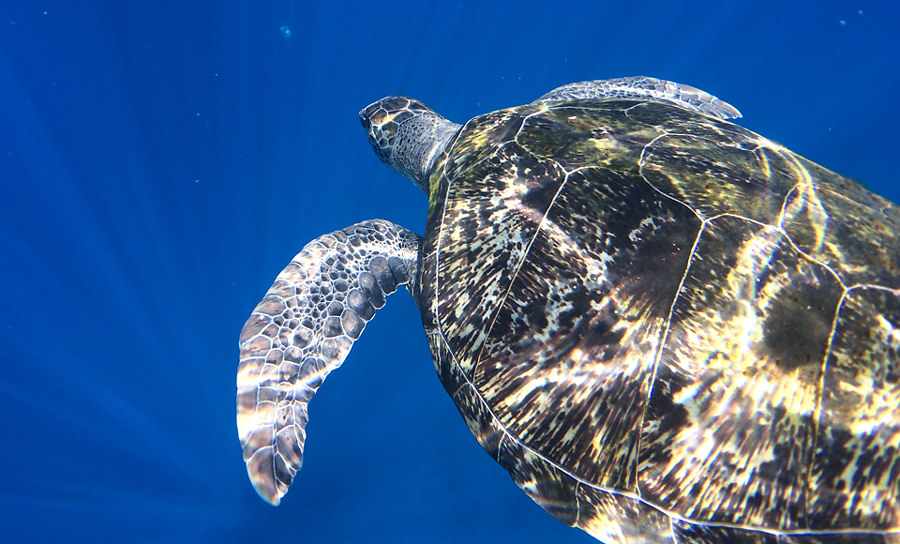
Last June, we interviewed Lars Wibranski who used only his iPhone and ProCamera to document his trip to Thailand. When he mentioned that he used a waterproof housing in conjunction with ProCamera to capture vivid underwater scenes, it really sparked our curiosity. Now, he has returned to share the photographs and tips from this dive.
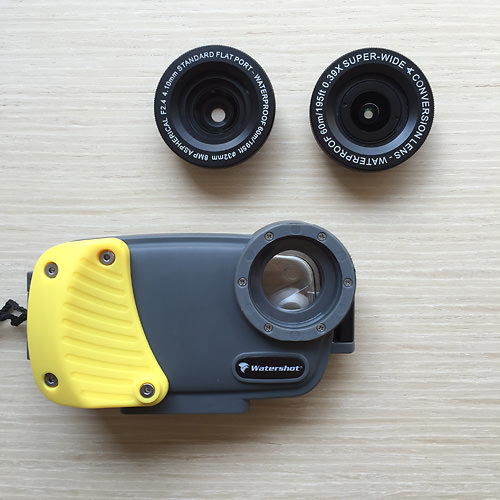
First, let’s have a look at the special underwater housing. Called “Watershot® PRO”, it is purpose-built for the demands of underwater photography and is able to “withstand rocks, reefs, salt, and extreme pressure.” It comes equipped with two lenses (flat and wide-angle). The set cost roughly $200 at the time of purchase. The fact that this particular case is a perfect fit for the iPhone 5/5s means that it is not compatible with other generations of the iPhone, or with other smartphone brands. Nonetheless, it opens up new areas of exploration for underwater iPhone photography. For now, let’s go for a dive with Lars and see what he has captured.
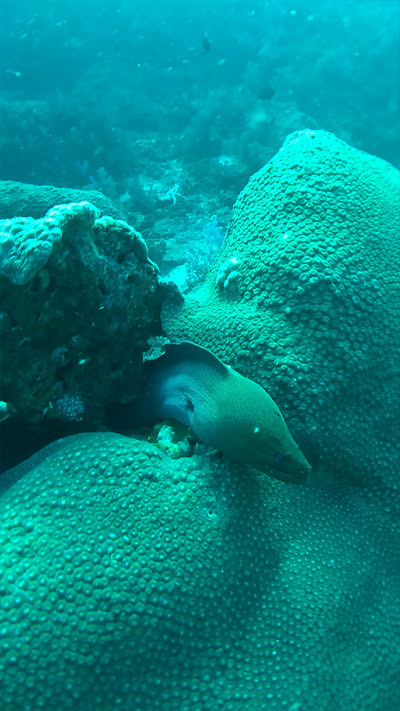
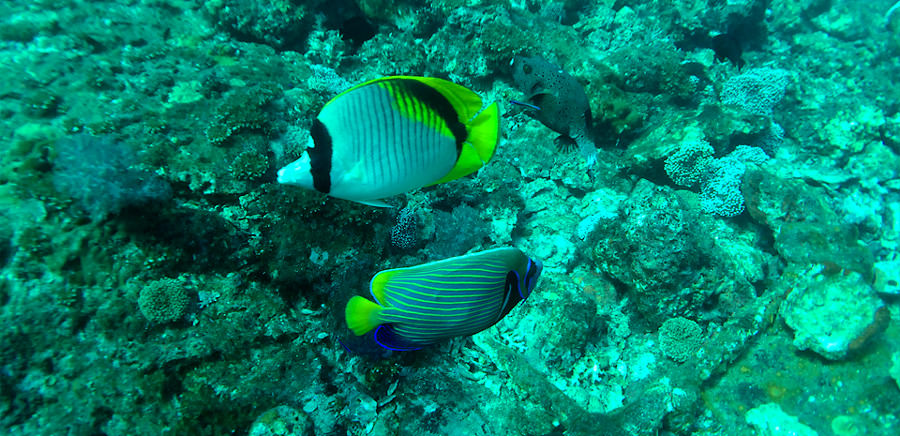
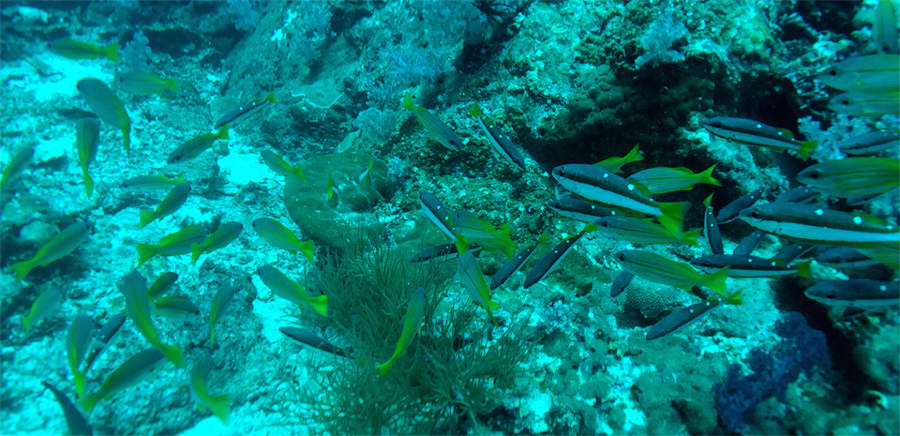
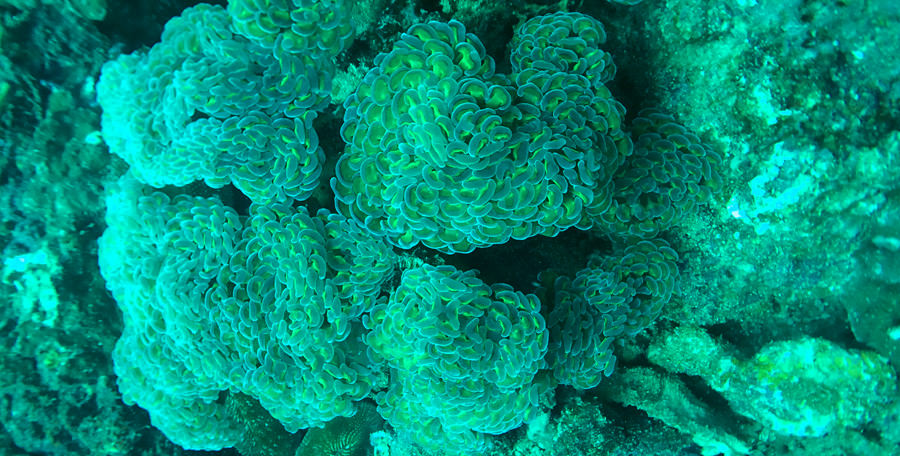
All photos were taken with an iPhone 5 S and ProCamera.
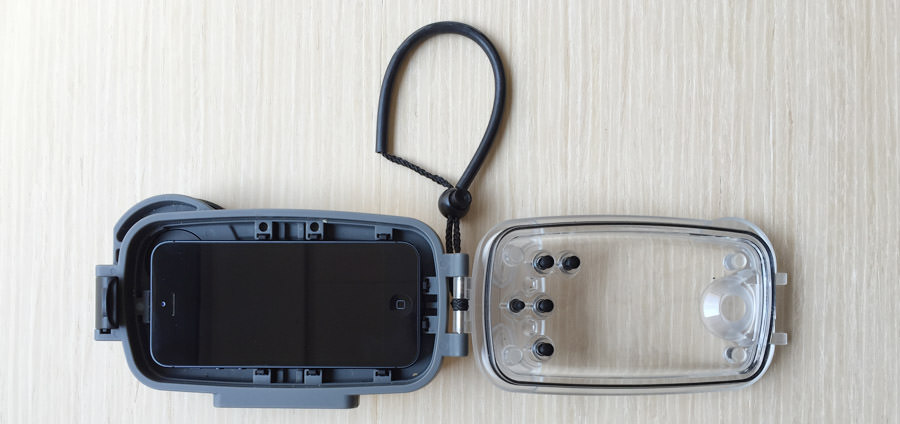
The black dots on the clear front of the housing are the physical buttons, that assure reliable operation subsea.
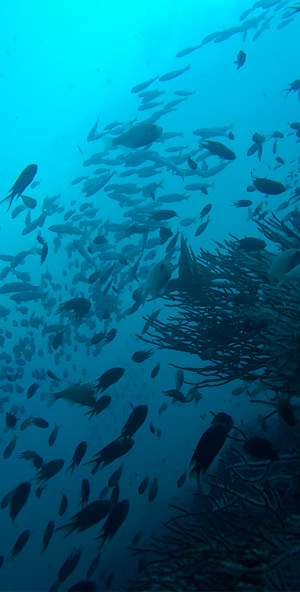
Underwater images usually aren’t the first thing that comes to mind when thinking about iPhone photography. One might think that special equipment that costs thousands of dollars would be necessary. Yet, the photographs below are evidence of just how far mobile photography can be pushed. Lars has shared with us some great tips in case you too wish to give underwater photography a try:
- When (first) using the case, it’s best to make a quick security check. Put in a handkerchief, close the housing, and submerge it into water. The handkerchief must not become wet while in the case. Lars never had any problems with penetrating water.
You will achieve the best photo results…
- in clear water. If you can’t see a lot underwater with your own eyes, the camera is likely to not see a lot, too. Thailand, where Lars took these photos, has incredibly clear water.
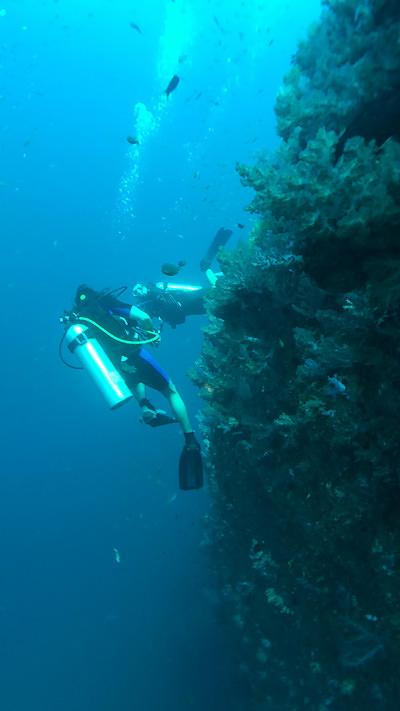
- near water surface, since it’s a lot brighter there. However, some of these photos are taken at around 40-50 feet (12-15m) below the surface. So don’t let that limit you.
- close to your subject. The closer you can get, the crisper your photos will be.
Blue-Green Cast
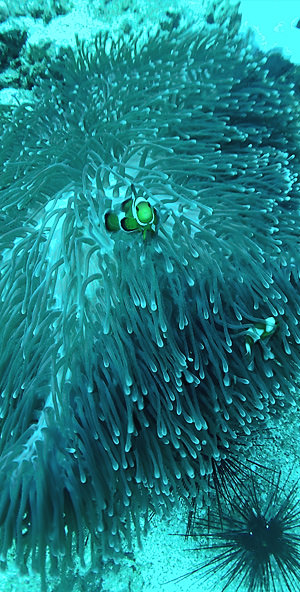
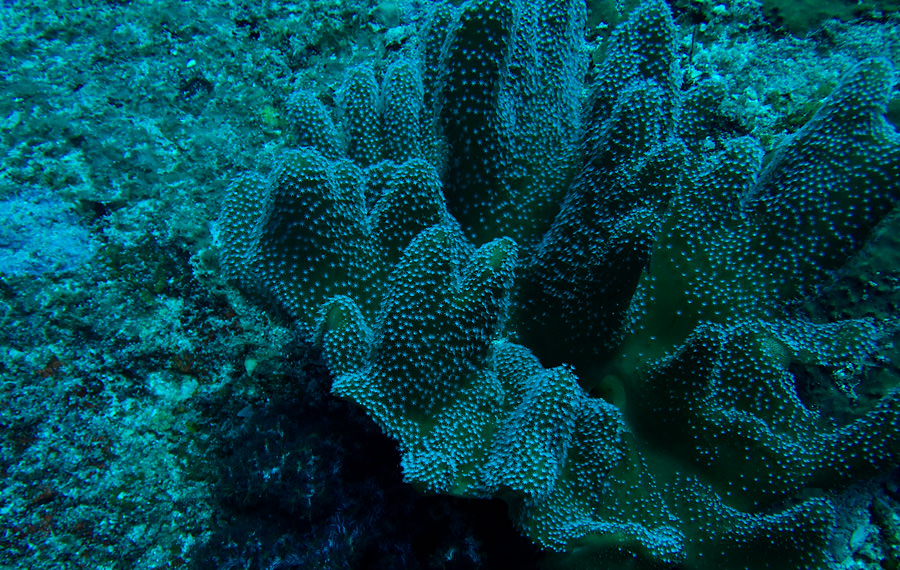
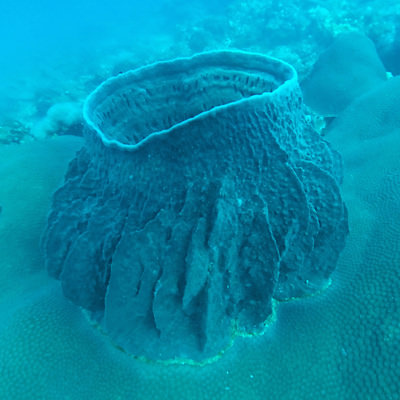
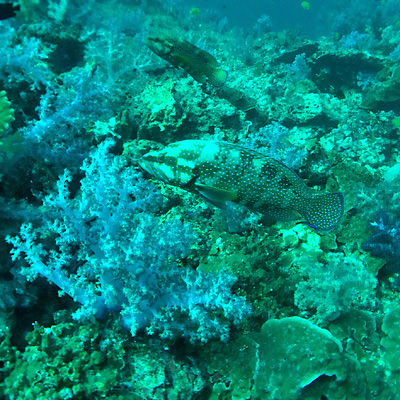
- The deeper you dive, the bluer and greener your environment will appear. This is bound up with the intrinsic property of water and the fact, that white light is selectively absorbed and scattered when traveling trough water.
- You will gradually loose red and orange tones in your photos when going deeper. You can see that effect in the following photo of the clown fish (we all know that Nemo is orange…).
- With a White Balance adjustment, you can compensate by adding in warm tones. Strictly speaking, the White Balance is only correct for a certain depth. Since you can’t unpack your iPhone underwater and can’t use the touchscreen in conjunction with the housing, it’s best to try find an approximate value beforehand. Alternative ways of bringing back the reds are either additional lighting (dive lights) or screw on color filter (red filter for blue water, magenta filter for green water environments).
- Since you won’t be able to use the touchscreen, when your iPhone is packed into the housing, make sure you don’t lock focus beforehand. When your focus is locked in ProCamera, you will see a little lock symbol inside the focus reticle. Using the big focus reticle in the center of the viewfinder assures continuous focusing, which will give you the necessary flexibility underwater.
- It’s quite possible that you will see amazing things underwater. It’s a strange and stunning world down there – but it can also be a dangerous one: Mind the sea current, even when having beautiful motifs in front of your camera.
When exploring reefs and shorelines with sharp edged rocks, watch out for breaking waves. - The housing also comes with a lanyard, which helps avoid loosing your phone underwater.
- However, the underwater world is not just beautiful and dangerous, it’s also fragile. So please take nothing but pictures from this important ecosystem.
- Remember that low battery alert at 20%? It’s a useful information, but it can abruptly stop your underwater photography. Only by tapping the “Dismiss” button in the center of the screen, you can continue using your phone. Unfortunately, there is no way to tap that button when your phone is inside the housing (no physical button in the center of the screen) and there is no option to disable that info pop up in iOS.
So, charge your iPhone to 100% beforehand, that will give you more than enough for an extended dive.
The wide screw on lens gets softer in the corners, so make sure you place your main subject more around the center. In this area the optical quality of the lenses is really good – Lars even used the housing in conjunction with the screw on lens for onshore photos, because of the wide field of view.
Maybe we could encourage some of you to give underwater (iPhone) photography a try. With ProCamera, some kind of waterproof cover/housing, and the tips from this post, you are ready to go. There also is a new version of the housing, that is custom made for the dimensions of the iPhone 6.
We at ProCamera love to see our app in action. So, in case you are doing something special, write us an eMail. We are very curious!



Hello I am really interested in using the Procamera app with the scuba case you feature in this article – it’s the same I have.
However, I need to understand how you set up the app to work with the five buttons I have available to control the app!
is there a specific setting that you used? I will not be able to access the touchscreen underwater (obviously) so any control outside of the 5 touchpoints or any swipe gesture are simply not usable once the phone is locked in the case.
Can you please help me?
Best
Hello Franco,
Thank you for your interest in ProCamera. Underwater photography is a little tricky but also lots of fun!
As you already pointed out, you are limited to the physical buttons with a hard case like the one in the article. Therefore, two aspects are key:
– Charge your iPhone prior to the dive. Otherwise, you won’t be able to confirm and close that iOS low battery info alert in the middle of the screen.
– Set the autofocus in ProCamera to continuous Auto Focus. That way, the camera will keep on focusing when the underwater scene is changing (e.g. when a swarm of fishes is approaching you). With a locked focus, you won’t be able to adjust the focusing distance. To activate the continuous Auto Focus, tap in the middle of the screen so a bigger blue focus square with an “AUTO” label is visible.
You can also test all that before your first dive. Set up ProCamera, put it inside the case, and then take some snaps in your room.
– Other ProCamera features to consider: “Rapid Fire Mode” to capture photos in a quick succession, “Video Mode”, “Manual White Balance”, and the “Temperature” tool to adjust the tones in post.
Let us know, in case you find great ways to use ProCamera under water or have additional tips after your dives. Enjoy ProCamera.