How to Turn One Piece From an Old Computer Into a Strong Macro Lens
This hack allows you to recycle one tiny component from a CD or DVD drive and transform your smartphone into a powerful macro camera
During these last couple of lockdown weeks, the entire ProCamera team has been working from home. Team member Nicolai Boenig found this to be the perfect time for a fun little do it yourself photo project. This challenge allowed him to take photos at home, sort out a no longer operational laptop, and dive into an exciting new genre of iPhone photography.
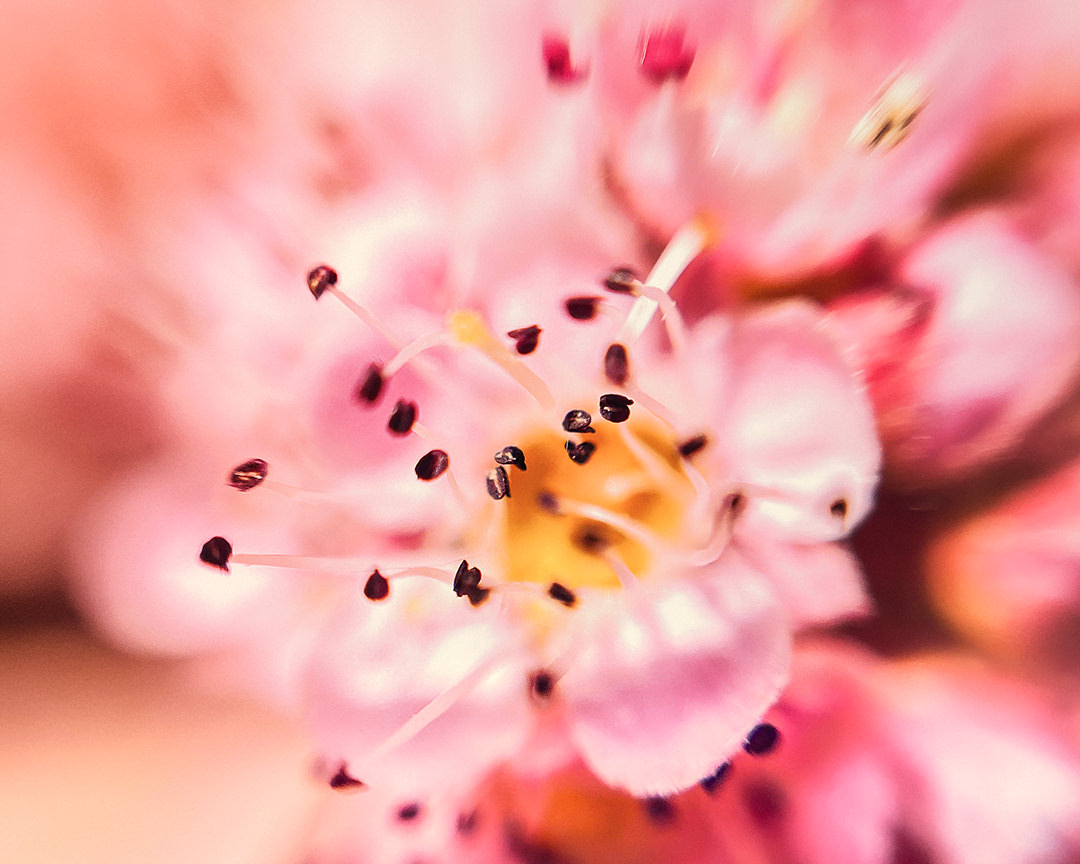
Q: Why is there a macro lens inside a regular CD/DVD drive?
A: Inside a CD/DVD drive or player is a movable component that reads data off the spinning disc. Somewhere in there is a magnifying lens that ensures that the laser is correctly focused. Luckily for us, this little lens is about the size of the current iPhone lenses. By placing the stripped off piece of glass in front of your smartphone camera, you are suddenly able to focus on objects less than an inch away.
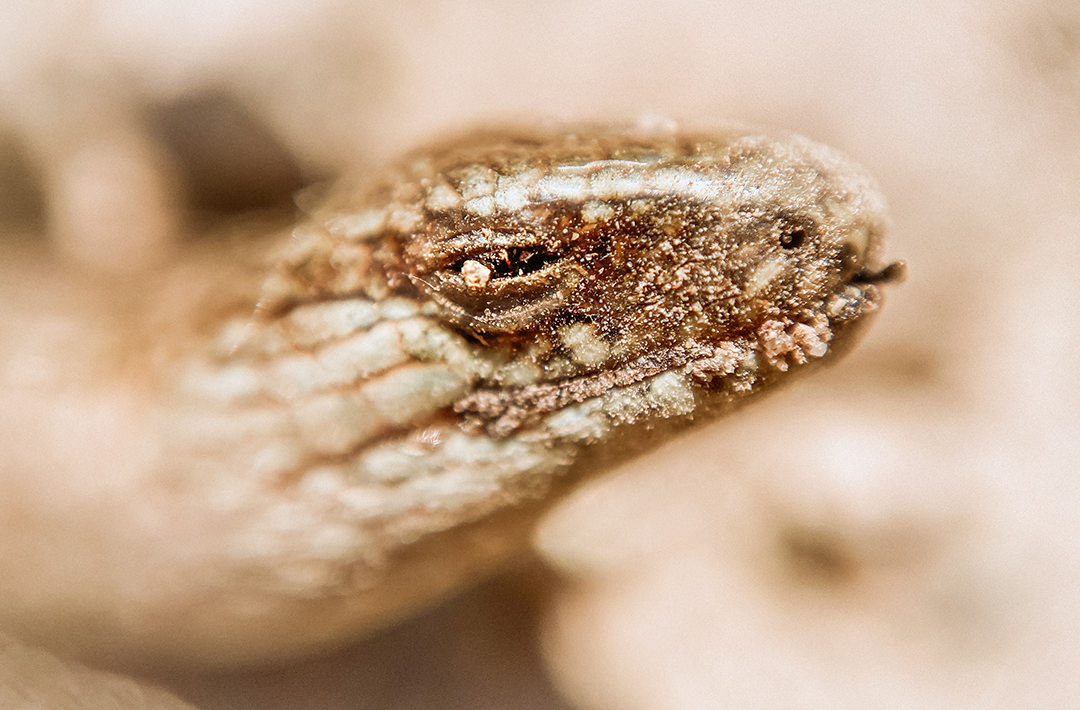
Q: How did you get a hold of the tiny lens?
A: Since I was stripping an old, broken down laptop that I was going to recycle anyway, I didn’t need to be super careful to not break anything. Most of the work was removing loads of minuscule screws. First, I opened up the laptop case, then detached the actual DVD drive, and finally took apart the reading head inside the drive.
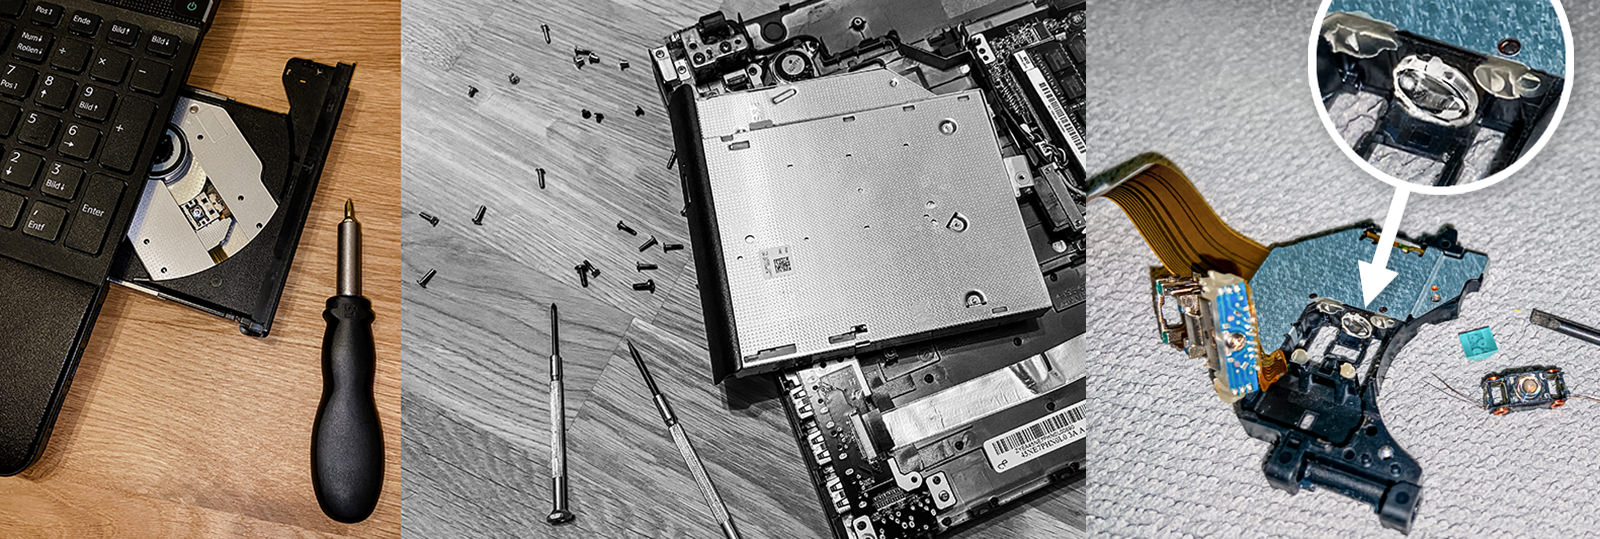
Q: What did you do next?
A: Step by step, I came across various little glass bits of different shapes and sizes inside the drive. The biggest one of the round shaped elements was the right one for my iPhone 11.
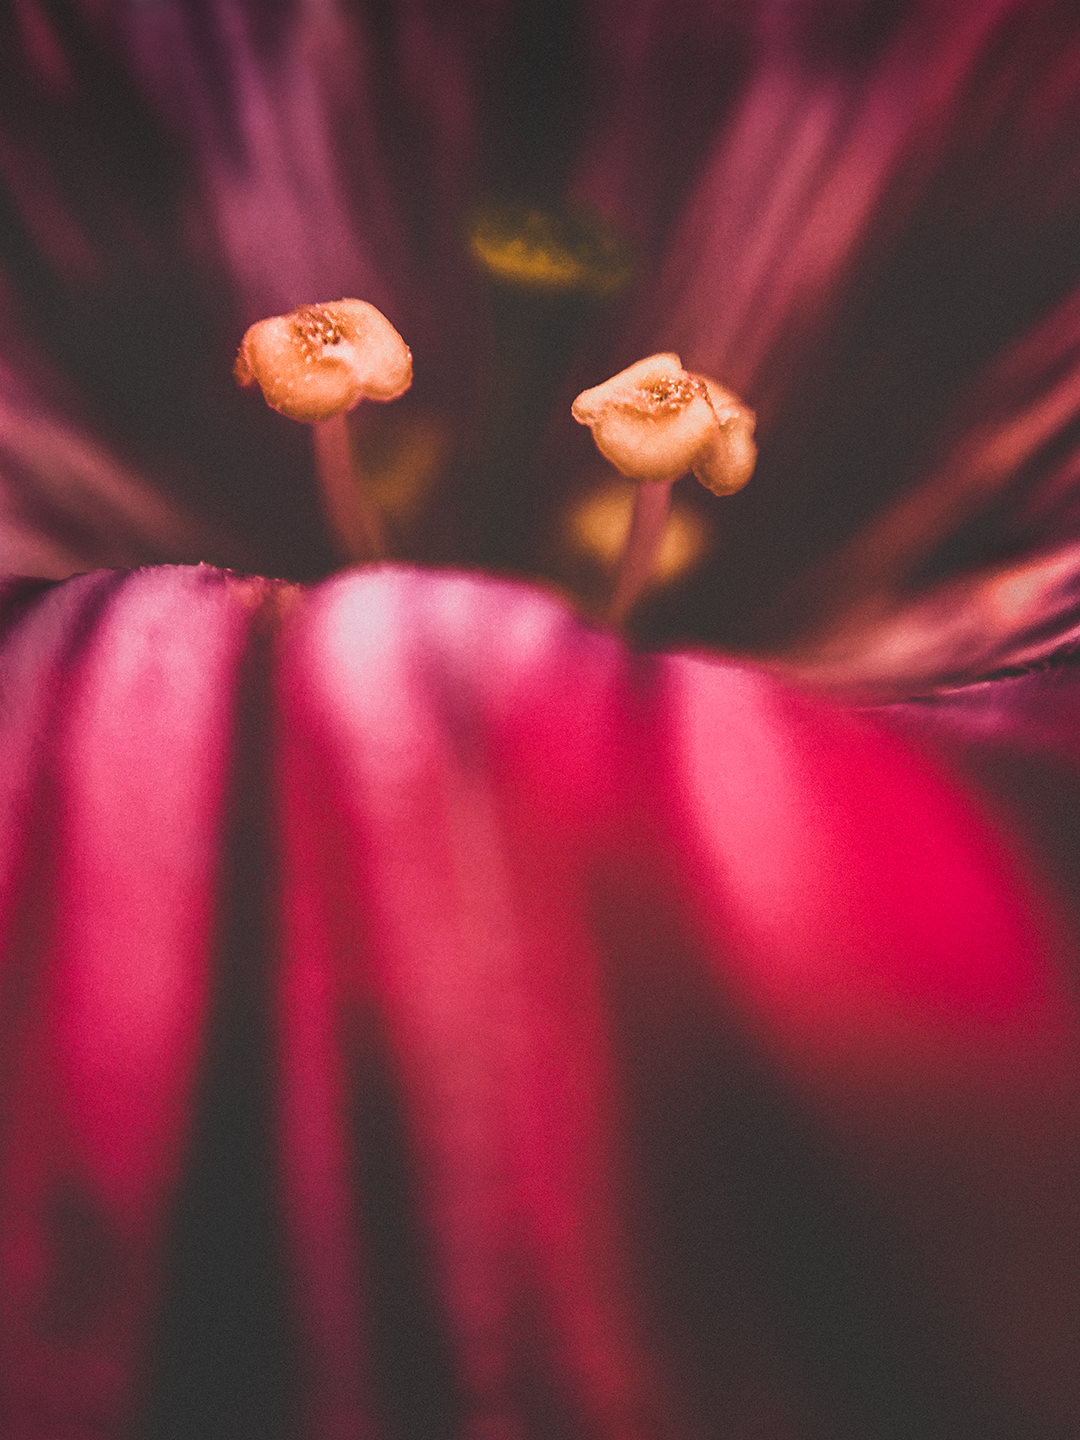
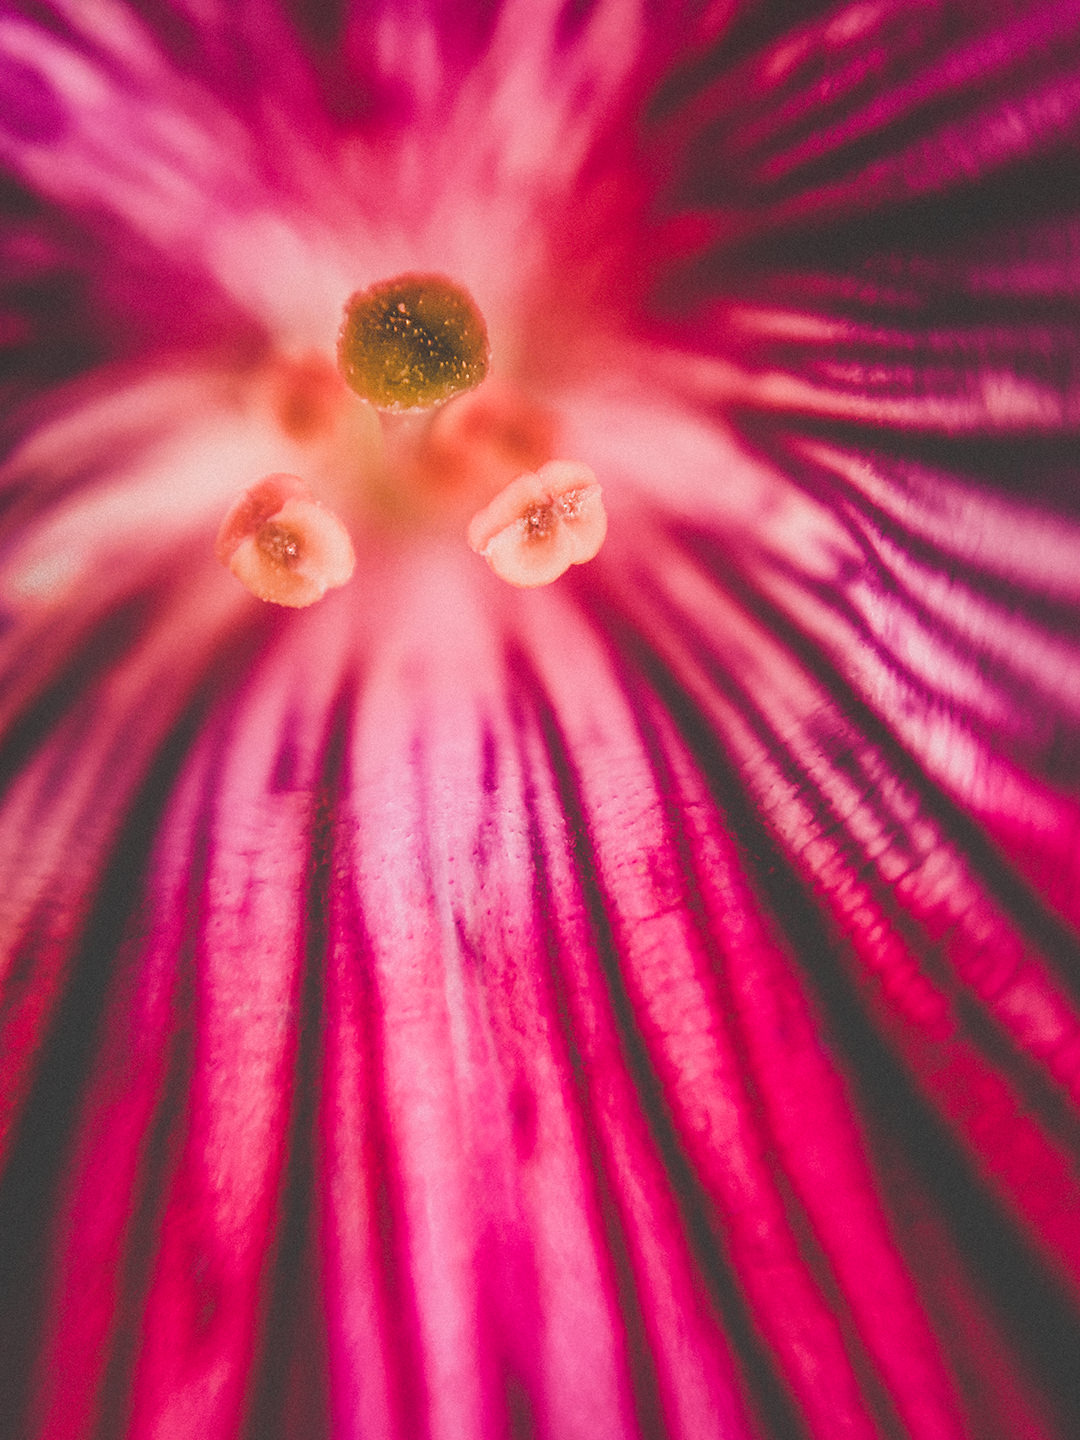
Q: How did you attach the little lens to your iPhone?
A: There are various options reaching from adhesive strip to modeling clay – but in the end I went for more of a „MacGyver fix“: I clamped the lens into a regular bobby pin and simply taped the clip to the back of the iPhone. This enables me to quickly remove the macro lens in case I wanted to take a regular, non-macro photo. This approach also doesn’t require any plastic tape above or underneath the lens, which would degrade the optical quality. In the end, it’s most important to find a solution that keeps the macro lens exactly in the right spot (which is a matter of a fraction of a millimeter) and doesn’t scratch or harm the built-in iPhone camera.
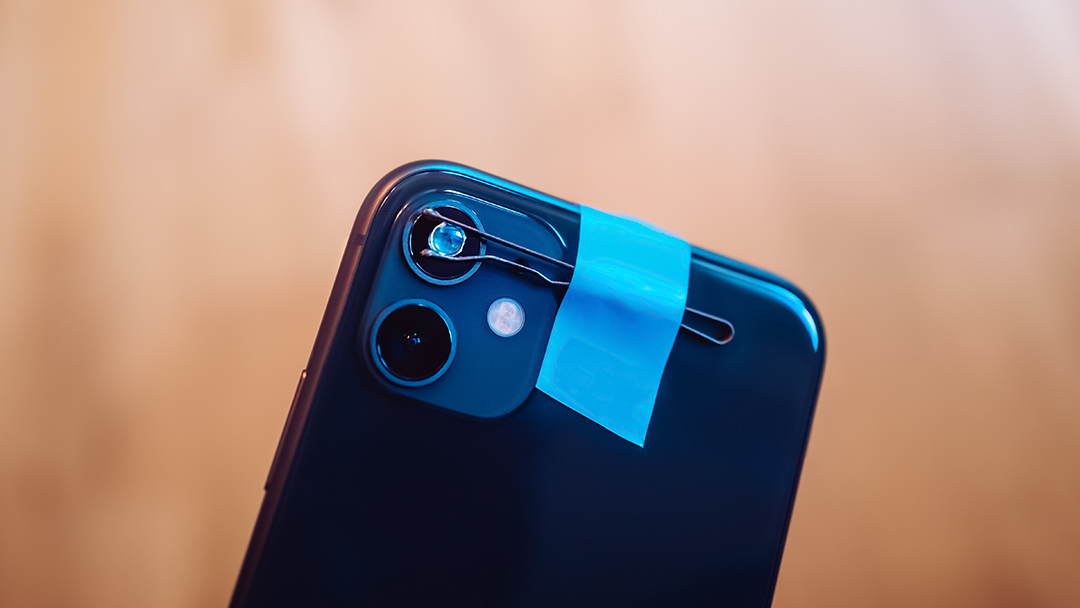
Q: Is there anything to consider when shooting with the DIY macro lens attached?
A: It’s definitely a different experience – but it’s a lot of fun!
- First, you have to get used to getting so close to your subject. My fingers on the back of the iPhone would usually touch the subject when taking a photo. Make sure not to bang your lens on your subject (scratches, cracks, residue,…).
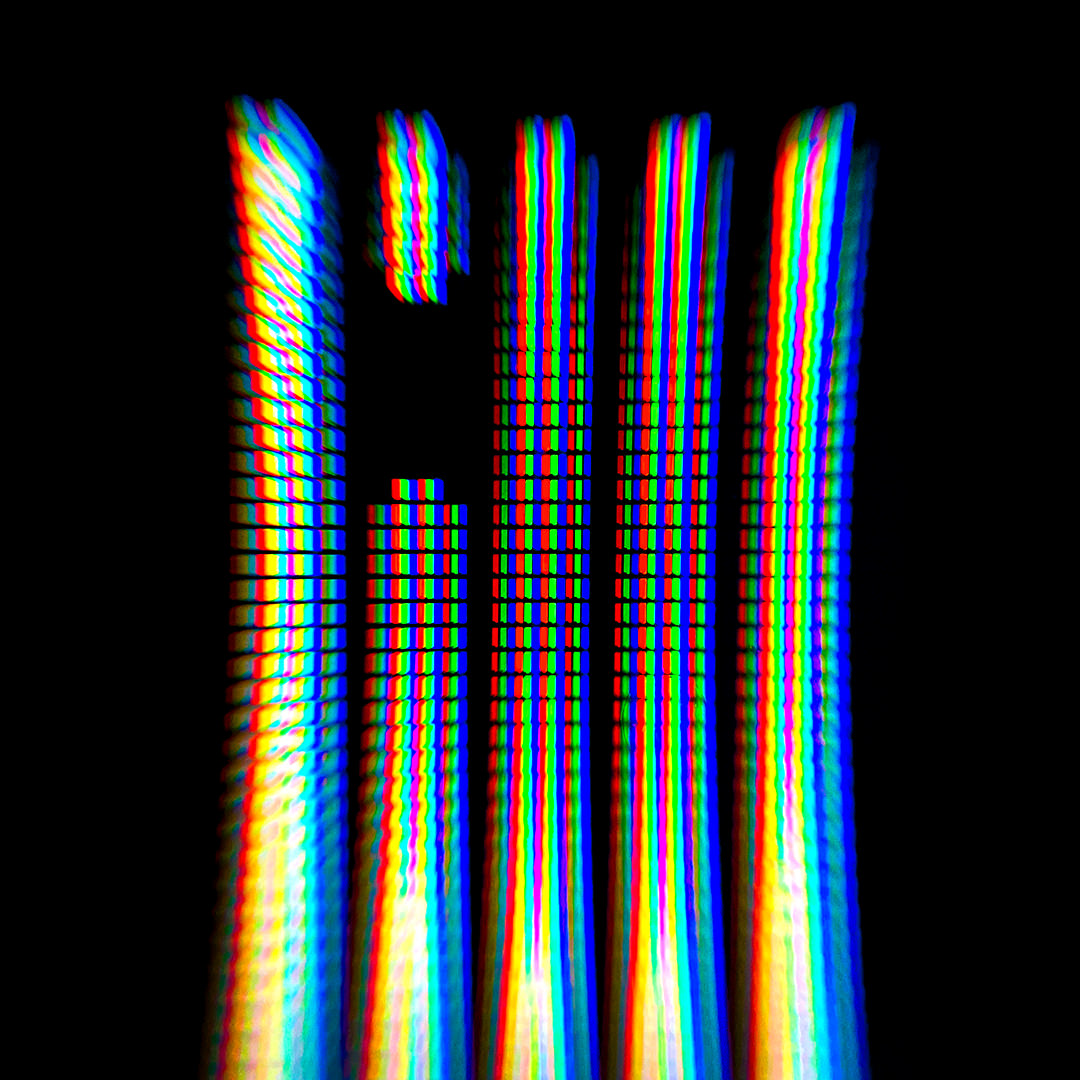
To give you an impression of the magnification and resolution: this is a close up photo of my computer screen displaying the small ProCamera logo up here on the website. You can see that each white pixel of the logo graphic is actually made up of bars of red, green, and blue (RGB).
- Also, shadow is a major issue. Since you are so close to your subject, you are likely to cast a harsh shadow with your iPhone and/or your hands. Therefore, it’s favorable to shoot in very bright environments, so that there is a lot of indirect light bouncing around. You can try to add in light from external light sources, but then you are more or less limited to back lighting.

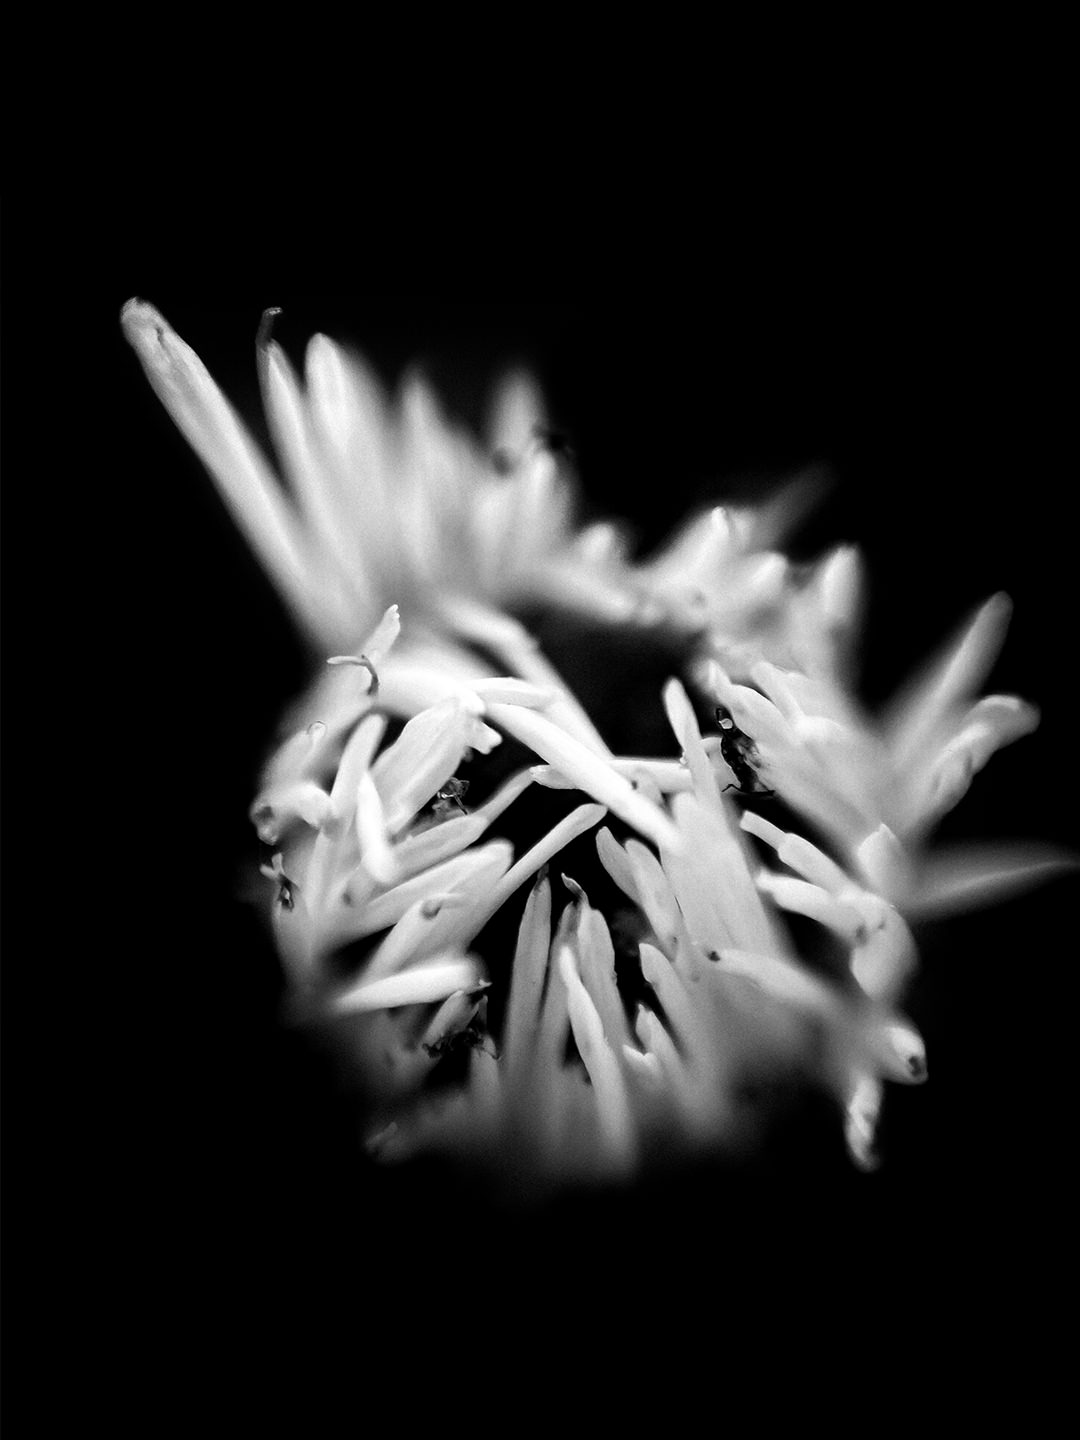
- Yet the most challenging aspect is nailing focus, because you are working with an extremely shallow depth of field. Delicate macro subjects – like flowers – tend to move in the wind which doesn’t make it easier. You will find yourself constantly moving your iPhone around. Still, getting anything in focus isn’t enough – most often you will want to have a very specific part of the image in focus, like an eye of a fly or a stamen of a flower.
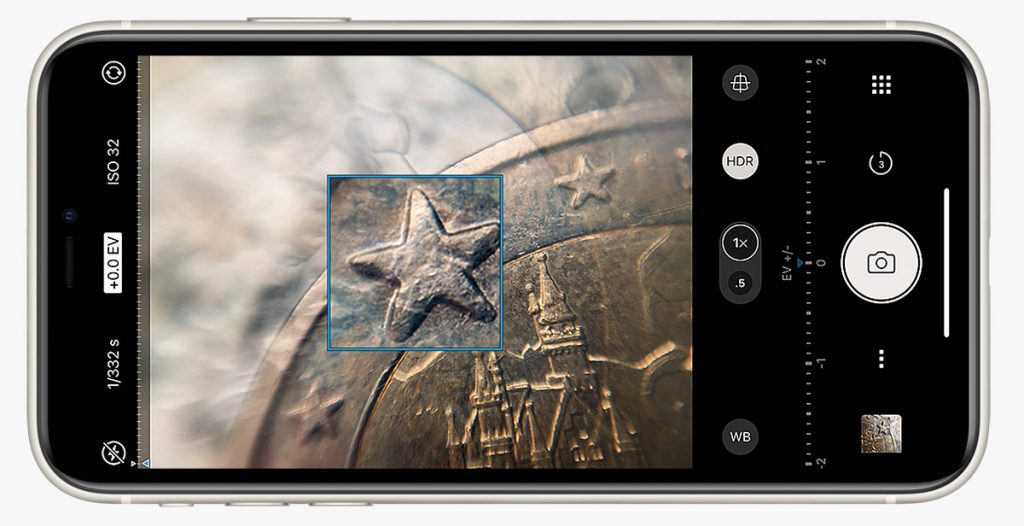
Q: Do you have any tips on how to focus?
A: Besides a steady hand and a lot of patience, ProCamera’s manual focus feature comes in very handy. I generally like to pre-focus on a specific distance and then move the iPhone back and forth to get the desired part in focus. As you can see in the screenshot, the focus magnifier of the manual focus helps you check sharpness before taking a photo. Bear in mind that you can only focus on a certain short range, this means many subjects are simply too big to get enough of them in focus to make them recognizable or photographically interesting…


Q: All in all, did you enjoy this DIY macro challenge?
A: Quite a lot! It allowed me to explore an exciting and beautiful new miniature world that holds a lot of big surprises when viewed up close. Photography can be quite an expensive endeavor, but for this project everything I needed I already had at home!

Nicolai, thank you for sharing your tips and images with us! To explore more of his photography, go check out his Instagram account (@nicolaiboenig).


