The underwater world is a magical place. Wouldn’t it be great to take photos with your iPhone in this beautiful landscape?
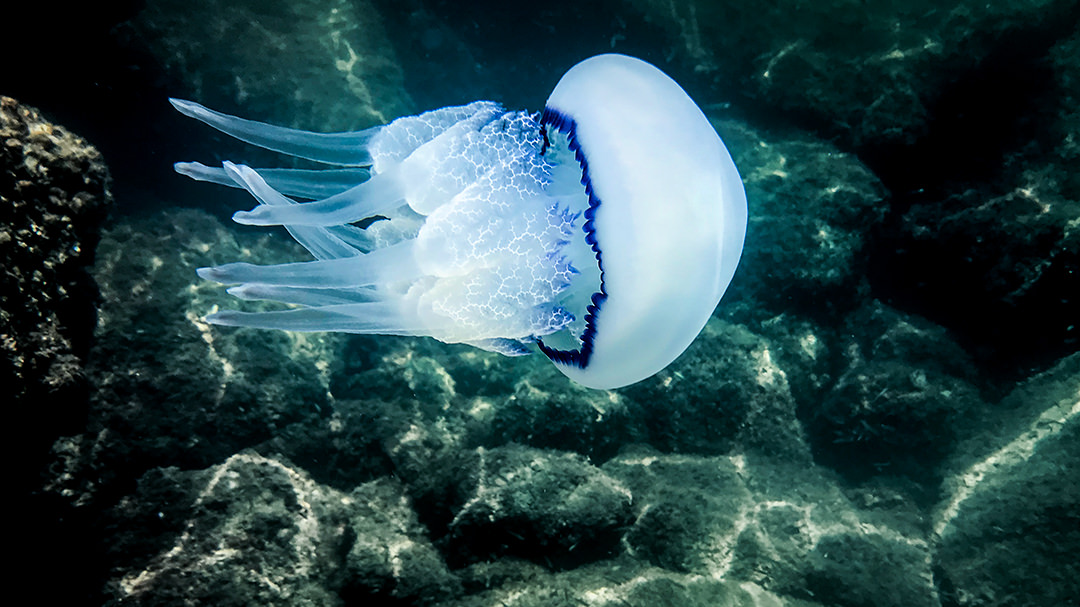
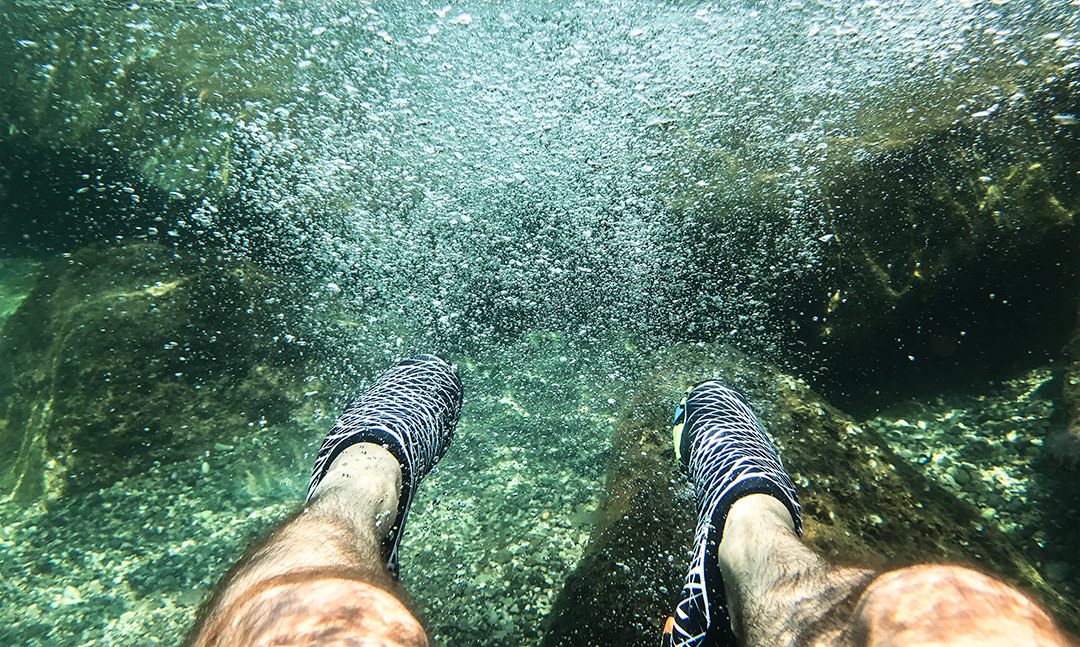
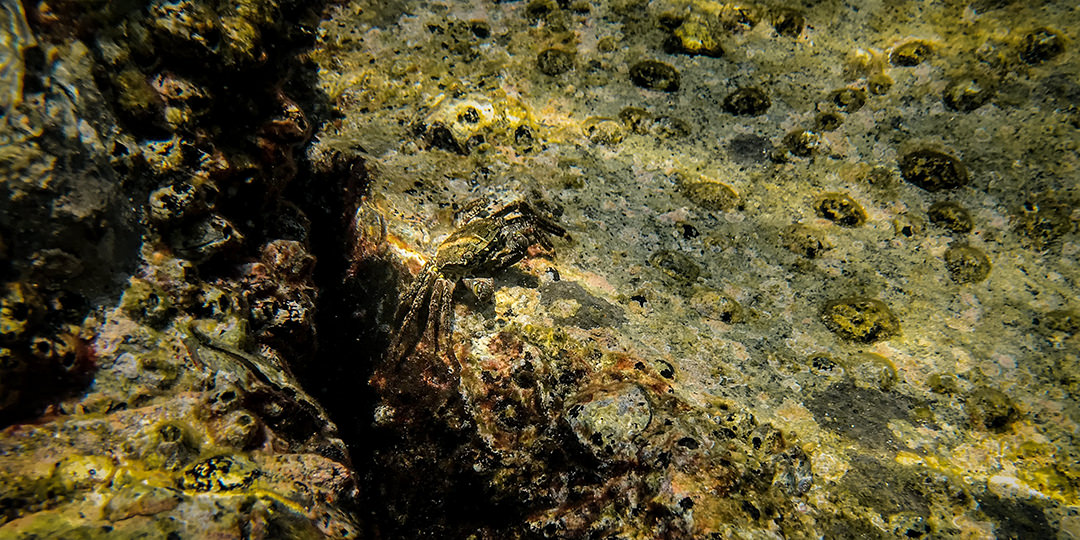
Last week we tried just that: We put an iPhone loaded with ProCamera inside an underwater housing and jumped into the Mediterranean Sea. Grab your snorkel and come with us!
INFO: This is a follow-up post to our previous subsea iPhoneography article.
What equipment did you use this time?
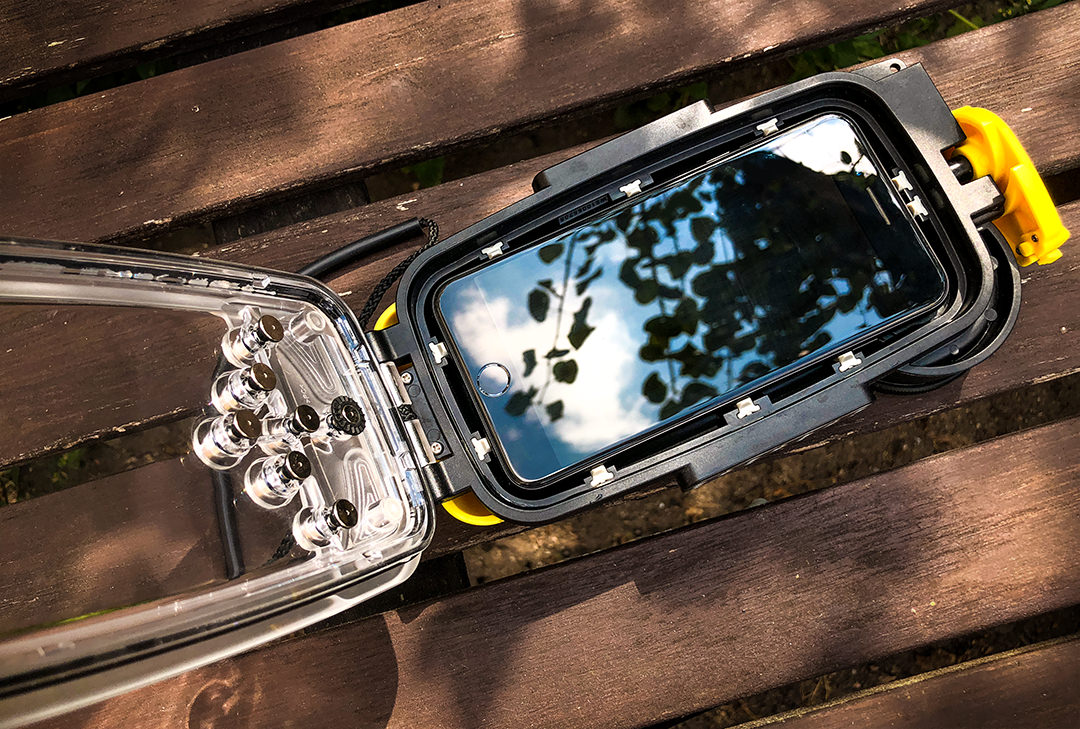
We used an iPhone 7 Plus inside a Watershot Pro housing. The main benefits of a professional housing are the robustness and the underwater control. This means you don’t have to worry about penetrating water (depth rating of 195 feet/60 meters) and physical buttons allow you to reliably trigger the shutter button subsea.
How did you set up ProCamera before the dive?
The physical buttons allow you to control the most important features once the iPhone is inside the housing (shutter button, exposure correction, 1x – 2x zoom switch). Yet, some settings need to be entered before storing the iPhone in there:
Continuous Autofocus: Tap in the middle of ProCamera’s Capture Screen to activate. The switch to Continuous Autofocus is indicated by the larger blue reticle and the word “AUTO”. This way, the camera will continuously adjust focus and you are not limited to one fixed focusing distance. This setting is important, since you won’t be able to manually focus once the iPhone is inside the housing.
Aspect Ratio 4:3: Precise framing isn’t that easy under water due to shy and speedy objects, water movement and limited view. Therefore, we went for the maximum resolution (4:3) and cropped our favorite images afterwards.
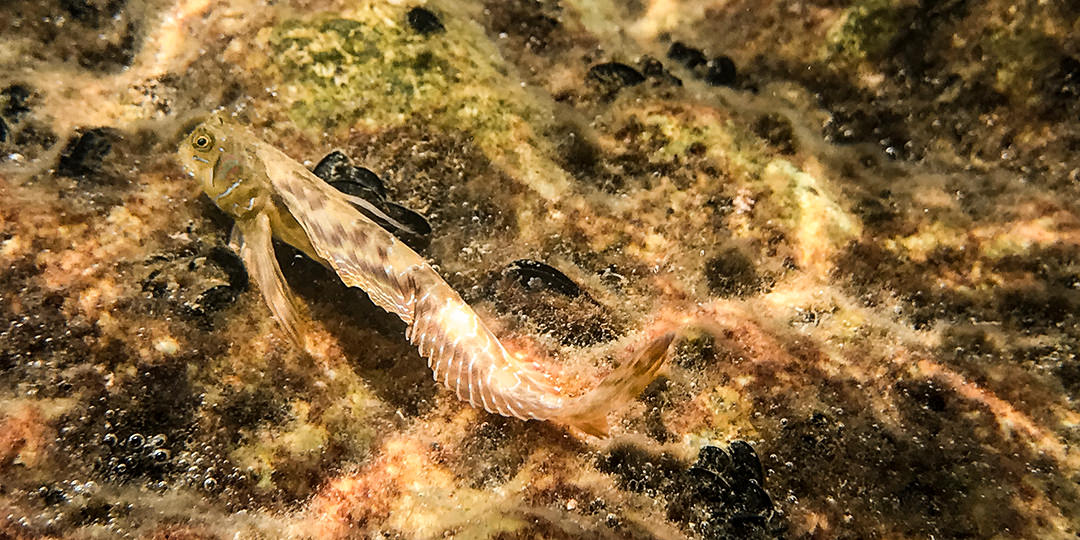
Rapid Fire: For fish and other agile sea dwellers, our Rapid Fire settings can be quite useful. By holding down the shutter button, the camera will take a burst of photos. This will give you a variety of captures to choose from after the dive.
High image quality: The intrinsic properties of water make it harder to capture crisp and contrasty images. Most of the time, underwater photos need at least basic editing. To get as much image data as possible, set the JPEG/HEIF quality level to 100% or directly switch to TIFF file format.
Do you have more tips for people, who haven’t tried it before?
The most important tipps are already listed in the previous post. But these are additional things to consider:
– The housing is extremely solid and durable. Still, washing the case after a dive in the ocean is recommended, so that the clear front and the glass lens are freed from the layer of salt.
– When snorkeling, applying sun cream (to your back) is advisable. Just wait a few minutes before you touch the housing afterwards. Otherwise, you will cause unpleasant finger prints that obstruct your view at the iPhone display or you will put smudge marks on the lens.
– Try not to directly expose the housing to sand or tiny stones at the beach. The sand grains might scratch the acrylic front of the housing, which could affect the display visibility and the quality of selfies negatively. We put the kit inside a pouch in our beach bag before and after each dive and had no problems.
– Attach the little hand strap to the housing. You don’t want to loose your precious kit and all those wonderful water photos in crushing waves.
– If possible, snorkel or dive more than once. Within a day or even a few hours, an underwater scene can drastically change. You may encounter different wildlife and you may get an even clearer view. A spot that wasn’t very interesting on an afternoon, was fascinating just the next morning.

And last but not least: please take care down there!


Pics taken via iPhone can be impressively beautiful and compared with the camera ones. I like portability and editing items that are avaliable in one device. Cool tech development, no doubts, which has become closer and makes shooting the funny issue.